


If you enjoy working with wood or want to take your DIY projects to the next level, a router tool can be your best friend. Imagine creating smooth edges, intricate designs, and perfect grooves with ease.
Sounds exciting, right? Whether you’re a beginner or a seasoned pro, understanding how to use this powerful tool will unlock new possibilities for your work. Keep reading, and you’ll discover everything you need to know to make your projects stand out.
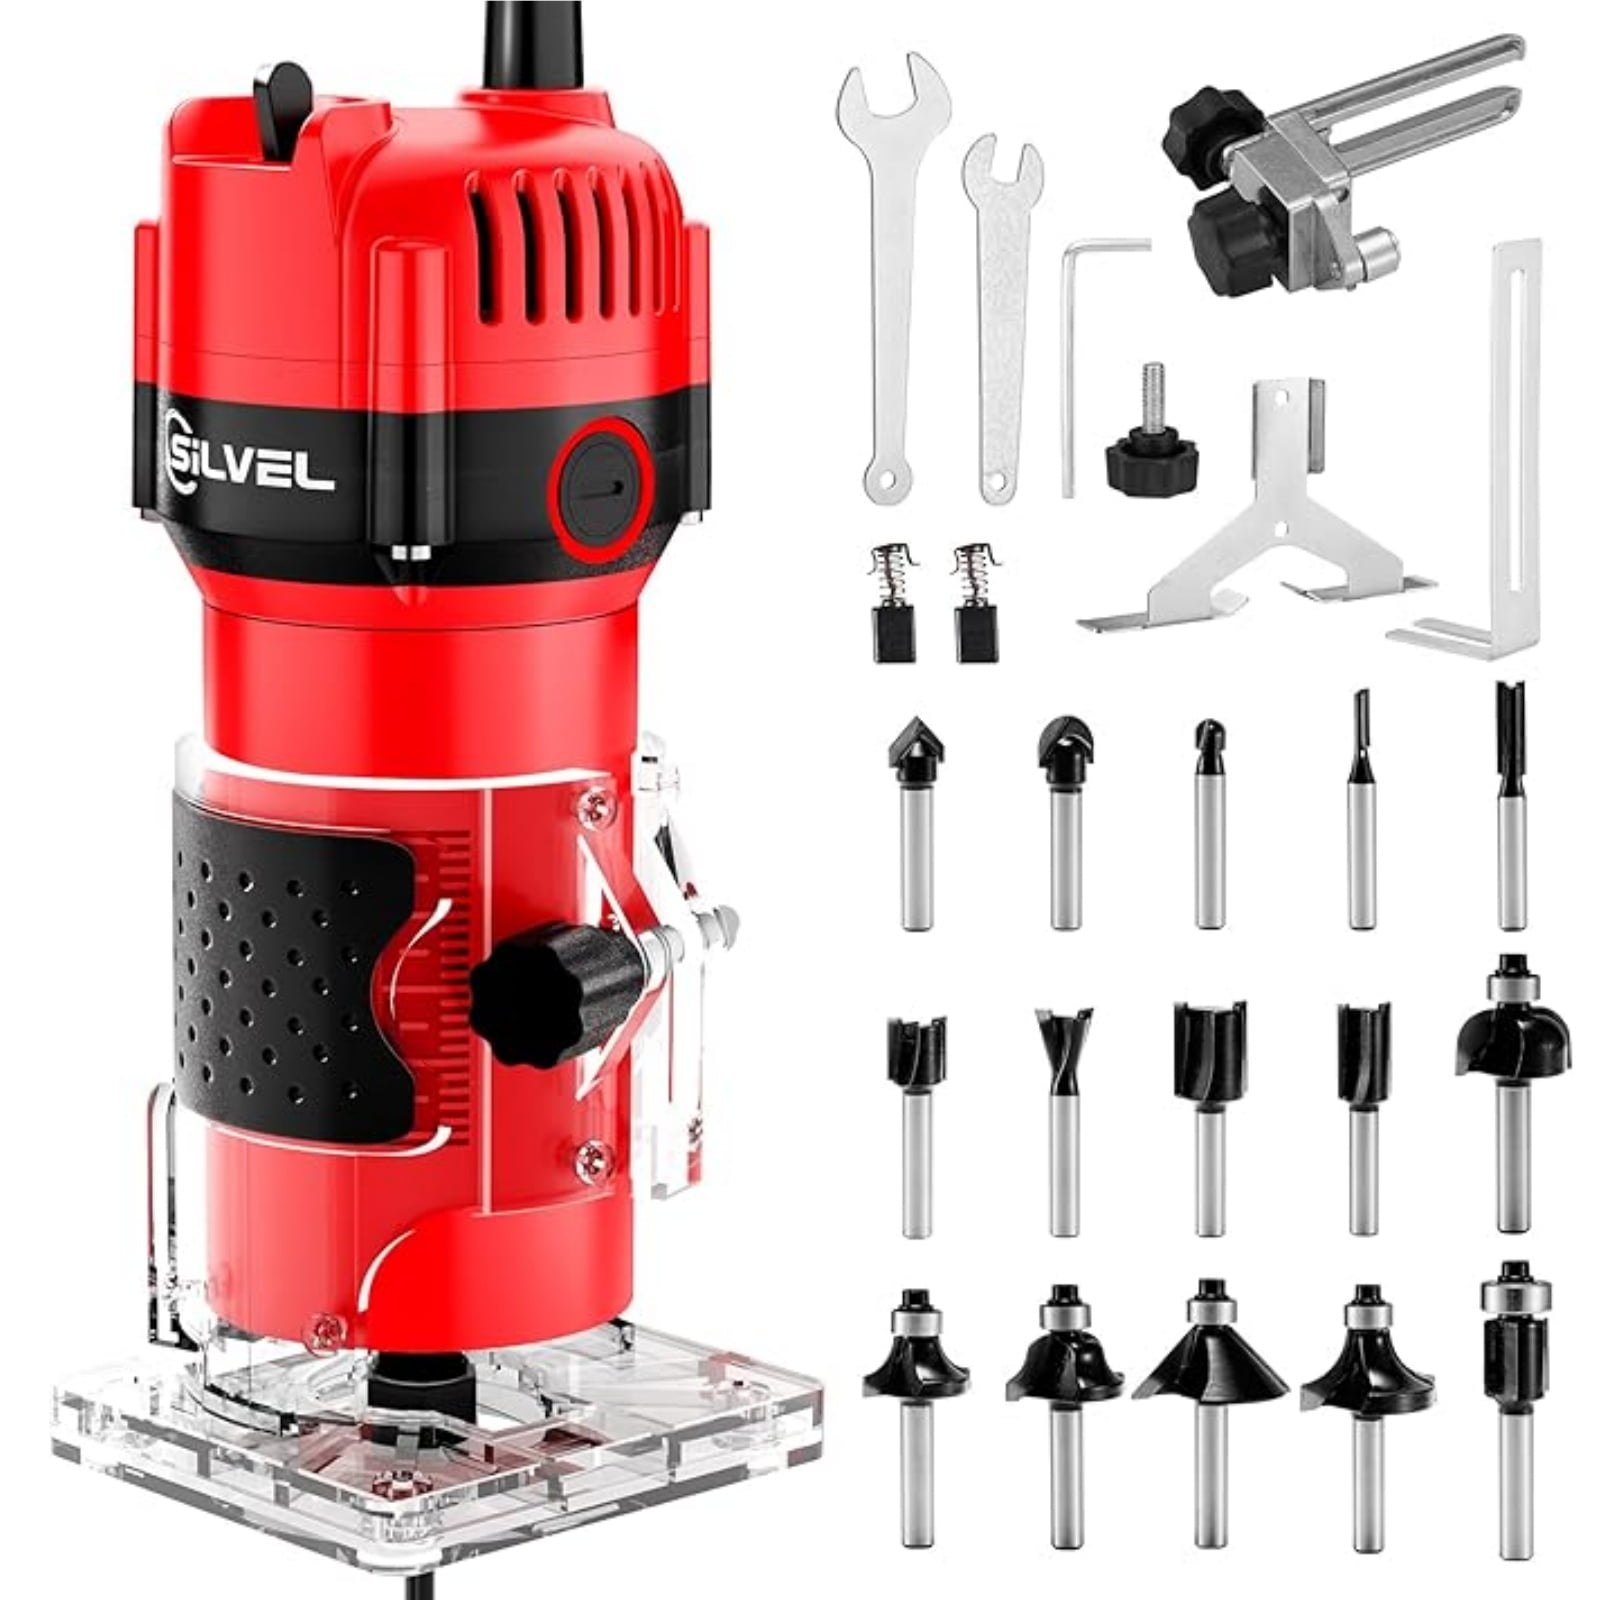
Credit: www.walmart.com
Choosing The Right Router
Picking the right router helps you create smooth and clean edges in woodworking. This guide covers types of routers, key features, and power options.
Understanding your needs will make it easier to select a router that fits your projects and skill level.
Types Of Routers
There are several kinds of routers. Each type suits different tasks and users. Knowing these helps you choose the best one.
- Fixed-Base Router:Has a set depth. Good for edge work and straight cuts.
- Plunge Router:Allows you to lower the bit into the wood. Best for dadoes and inlays.
- Combo Router:Offers both fixed and plunge bases. Provides more flexibility.
- Trim Router:Small and lightweight. Ideal for light trimming and detail work.
Key Features To Consider
Look at important features before buying. These affect how well the router works and how easy it is to use.
| Feature | Benefit |
| Variable Speed | Adjust speed for different materials and bits |
| Soft Start | Prevents sudden jerks when starting the router |
| Depth Adjustment | Makes precise depth control simple |
| Ergonomic Grip | Reduces hand fatigue during use |
| Dust Collection | Keeps your work area clean and improves visibility |
Power And Speed Settings
Power and speed affect how the router cuts wood. Choose settings that match your project size and type.
- Check the motor power. Higher amps mean the router can handle harder wood.
- Use variable speed controls to set the right speed for different bits.
- Lower speeds work well for large bits and soft materials.
- Higher speeds suit small bits and hard wood.
- Make sure the router has good cooling to avoid overheating.
Essential Router Bits
Router bits shape wood and other materials with precision. They come in many types for different jobs. Using the right bit helps you get clean cuts and smooth edges.
Choosing bits that fit your project is important. Understanding bit types, materials, and care keeps your tools sharp and ready.
Common Bit Types
There are several common router bit types. Each type creates a specific cut or shape. Here are the main bits used in woodworking:
- Straight bits – cut straight channels or dados
- Flush trim bits – follow templates for smooth edges
- Round-over bits – round off sharp corners
- Chamfer bits – cut angled edges
- V-groove bits – make decorative V-shaped cuts
- Rabbet bits – create ledges or steps in wood
Material And Coating
Router bits are made from different materials. Coatings improve their life and cutting ability. Here is a table showing common materials and coatings:
| Material | Features | Common Coatings |
|---|---|---|
| High-Speed Steel (HSS) | Affordable, good for soft wood | None |
| Carbide-Tipped | Sharp, lasts longer, good for hard wood | Titanium Nitride (TiN), Black Oxide |
| Solid Carbide | Very durable, best for heavy use | Ceramic, Titanium Aluminum Nitride (TiAlN) |
Maintenance Tips
Keeping router bits sharp and clean helps them work well. Follow these tips for maintenance:
- Clean bits after use to remove resin and dust
- Use a soft brush and mild cleaner
- Sharpen dull bits with proper tools
- Store bits in a dry place to prevent rust
- Check for damage before each use
Setting Up For Accuracy
Using a router tool with accuracy makes your work cleaner and safer. Proper setup helps avoid mistakes and saves time.
Focus on steady positioning, correct depth and speed, and using guides or templates. These steps improve your results.
Secure Workpiece Positioning
Keep the workpiece steady before you start routing. This reduces movement and keeps cuts precise.
Use clamps or a vise to hold the wood firmly. Make sure it does not shift during the cut.
- Place clamps away from the cutting path
- Check the workpiece is flat and stable
- Use a non-slip mat for extra grip
Adjusting Depth And Speed
Set the router bit depth to control how deep you cut. Too deep cuts can cause mistakes or damage.
Choose a router speed that fits the material and bit size. Faster speeds work for small bits and soft wood.
- Test depth on scrap wood first
- Start with slower speed for hard wood
- Make multiple shallow passes if needed
Using Guides And Templates
Guides and templates help you follow shapes and lines exactly. They make complex cuts easier.
Attach the guide or template firmly. Move the router slowly along it to keep your cuts smooth and accurate.
- Use straight edge guides for straight cuts
- Choose templates made from sturdy material
- Double-check attachment before cutting
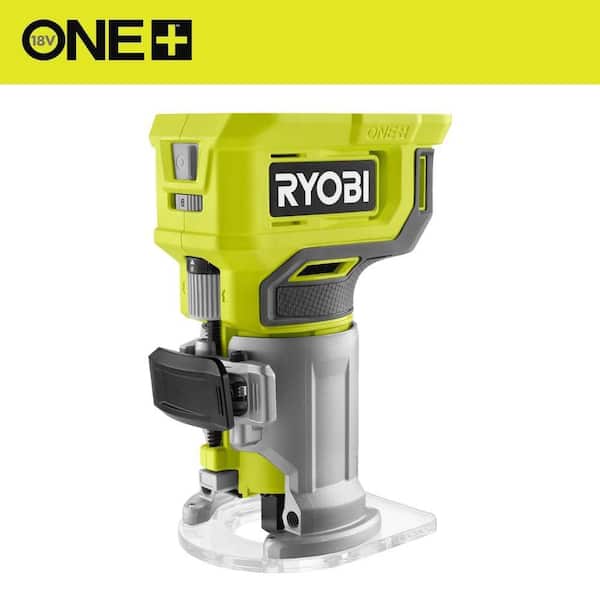
Credit: www.homedepot.com
Techniques For Precision
Using a router tool with care improves the quality of your work. Precision means cutting exactly where you want without mistakes.
Below are simple techniques to help you control the tool better and get clean, accurate results every time.
Proper Hand Positioning
Hold the router firmly with both hands to keep it steady. Your hands should be placed on the handles so you can guide the tool smoothly.
- Keep your thumbs wrapped around the handles.
- Apply even pressure with both hands.
- Do not grip too tightly to avoid fatigue.
- Maintain control but allow the router to move freely.
Controlling Feed Rate
Feed rate means how fast you push the router along the wood. Moving too fast can cause rough edges. Going too slow can burn the wood.
| Feed Rate | Effect |
| Too Fast | Rough cuts, tool may skip |
| Too Slow | Burn marks, tool wears out quickly |
| Just Right | Smooth cuts, clean edges |
Multiple Passes Strategy
Do not try to cut deep in one pass. Make several shallow cuts instead. This keeps the router under control and improves accuracy.
- Set the cutting depth to a small amount.
- Make the first shallow pass along your guide.
- Increase the depth slightly for each next pass.
- Repeat until you reach the final depth.
- Check your work after each pass for accuracy.
Safety Practices
Using a router tool requires care to avoid accidents. Following safety rules protects you and others.
Always prepare before starting work with a router. This helps keep your workspace safe and clean.
Protective Gear
Wear the right protective gear to stop injuries. This gear shields you from dust and flying debris.
Always wear eye protection and hearing protection when using a router tool.
- Safety glasses or goggles to protect your eyes
- Earplugs or earmuffs to reduce noise
- Dust mask to avoid breathing dust
- Non-slip gloves for a better grip
Safe Handling Procedures
Hold the router firmly with both hands. This helps you control the tool safely.
Keep your hands away from the cutting bit while the router runs. Always switch off before changing bits.
- Check the router bit is tight before use
- Use clamps to secure your workpiece
- Start the router before touching the wood
- Move the router against the bit’s rotation
Preventing Common Hazards
Watch for common dangers like kickbacks and flying debris. These can cause serious injuries.
Keep your work area clean and free of clutter. Remove any loose objects before starting work.
- Do not wear loose clothing or jewelry
- Keep power cords away from the cutting path
- Disconnect power before making adjustments
- Check the router for damage before use

Credit: www.amazon.com
Maintenance For Efficiency
Maintaining your router tool ensures it works efficiently. Regular care keeps it in top condition and extends its life.
Proper maintenance includes cleaning, inspecting components, and storing the tool correctly. These steps help your router perform better.
Cleaning And Lubrication
Clean your router tool after every use. Dust and debris can affect its performance. Wipe it with a soft cloth to remove particles.
Lubricate moving parts to reduce wear and tear. Use oil sparingly to avoid attracting more dust.
- Use a brush to reach small areas
- Check the manual for lubrication points
- Remove excess oil with a clean cloth
Inspecting Components
Regularly check all parts of the router. Look for signs of damage or wear. Replace any worn-out components immediately.
Inspect the power cord for cuts or frays. A damaged cord can be dangerous.
- Check the motor for unusual sounds
- Ensure the base plate is secure
- Test the switches for proper function
Storage Tips
Store your router tool in a dry, cool place. Moisture can cause rust and damage the tool.
Keep the tool in its case when not in use. This protects it from dust and accidental damage.
- Store accessories separately to avoid scratches
- Label the storage space for easy access
- Ensure the tool is unplugged before storage
Advanced Tips And Tricks
The router tool is essential for woodworking. It shapes, trims, and adds detail to wood pieces. Learning advanced tips can improve your woodworking skills.
Explore different methods to use your router more efficiently. These tips will help you get precise results and save time in your projects.
Using Jigs And Fixtures
Jigs and fixtures guide your router for accurate cuts. They ensure consistent results, especially on complex designs. Consider custom jigs for unique projects.
Use jigs to hold your workpiece steady. Fixtures can help with repetitive cuts. This setup minimizes errors and improves safety.
- Build a dovetail jig for precise joints
- Use a circle cutting jig for perfect circles
- Create a straightedge guide for straight cuts
Combining Router With Other Tools
Pair your router with other tools for advanced techniques. This combination can expand your capabilities and improve project quality.
Use a table saw for straight cuts, then finish edges with a router. A planer can prepare surfaces before you add decorative edges with the router.
- Trim rough edges with a planer
- Use a router table for stable operations
- Combine with a drill press for precise holes
Troubleshooting Common Issues
Routers can encounter problems like burning or tear-out. Understanding these issues helps maintain your tool and improve results.
Check your router bit sharpness to prevent burning. Adjust speed settings to match the material you’re working with.
- Use sharp bits to avoid tear-out
- Adjust speed to reduce burning
- Secure material to prevent shifting
Frequently Asked Questions
What Is A Router Tool Used For In Woodworking?
A router tool shapes and hollow outs wood surfaces. It creates smooth edges, grooves, and intricate designs. Woodworkers use it for cabinetry, furniture, and decorative finishes. It offers precision and versatility in crafting detailed wood projects.
How Do I Choose The Right Router Bit?
Choose a router bit based on the cut type and material. Consider size, shape, and compatibility with your router. High-quality bits ensure clean cuts and durability. Match the bit to your woodworking project for best results.
Can A Router Tool Be Used On Materials Other Than Wood?
Yes, routers can work on plastic, laminate, and soft metals. However, use specific bits designed for these materials. Adjust speed and feed rate accordingly. Proper bits and settings prevent damage and ensure clean cuts.
What Safety Precautions Are Needed When Using A Router Tool?
Always wear safety glasses and ear protection. Secure your workpiece firmly before routing. Keep hands clear of the bit and use push sticks. Work in a well-lit area and follow manufacturer instructions carefully.
Conclusion
A router tool helps shape wood with precision and ease. It makes projects faster and looks cleaner. Choosing the right bit changes your design style. Practice a little to get smooth cuts each time. Keep the tool steady and work slowly.
This tool suits both beginners and experts well. Try using a router tool for your next project. You will see the difference in your woodworking skills. Simple, useful, and effective.