

Have you ever wondered if you can use a planer tool on curved wood? If you’re working on a woodworking project with rounded edges or irregular shapes, this question might be on your mind.
You want smooth, even surfaces, but curved wood can seem tricky to handle. Don’t worry—understanding how a planer works with curves can save you time and effort. You’ll discover practical tips and expert advice that will help you decide when and how to use your planer on curved wood, so your project looks just right.
Keep reading to unlock the secrets to mastering curved wood with your planer tool.

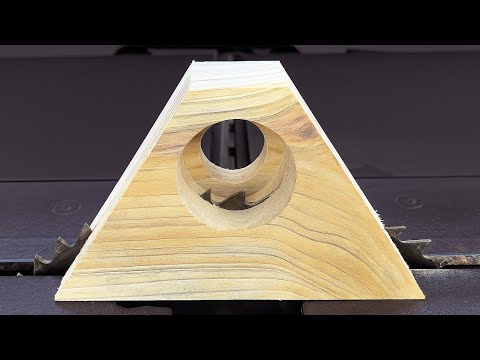
Credit: www.youtube.com
Planer Tool Basics
A planer is a tool used to smooth and flatten wood surfaces. It removes thin layers of wood to make the surface even.
People use planers to prepare wood before building or finishing projects. You might wonder if a planer works on curved wood.
How A Planer Works
A planer has sharp blades that spin fast. These blades shave off small pieces from the wood surface.
The wood passes through the planer while the blades cut the top layer. The machine keeps the wood flat and smooth.
Types Of Planers
There are different types of planers for various woodworking needs. Each type works best on certain wood shapes and sizes.
- Hand Planer:A manual tool used for small jobs and fine control.
- Thickness Planer:A power tool that makes wood boards flat and uniform in thickness.
- Surface Planer:Used to smooth large flat wood pieces quickly.
- Portable Planer:A small, lightweight electric planer for easy use on site.
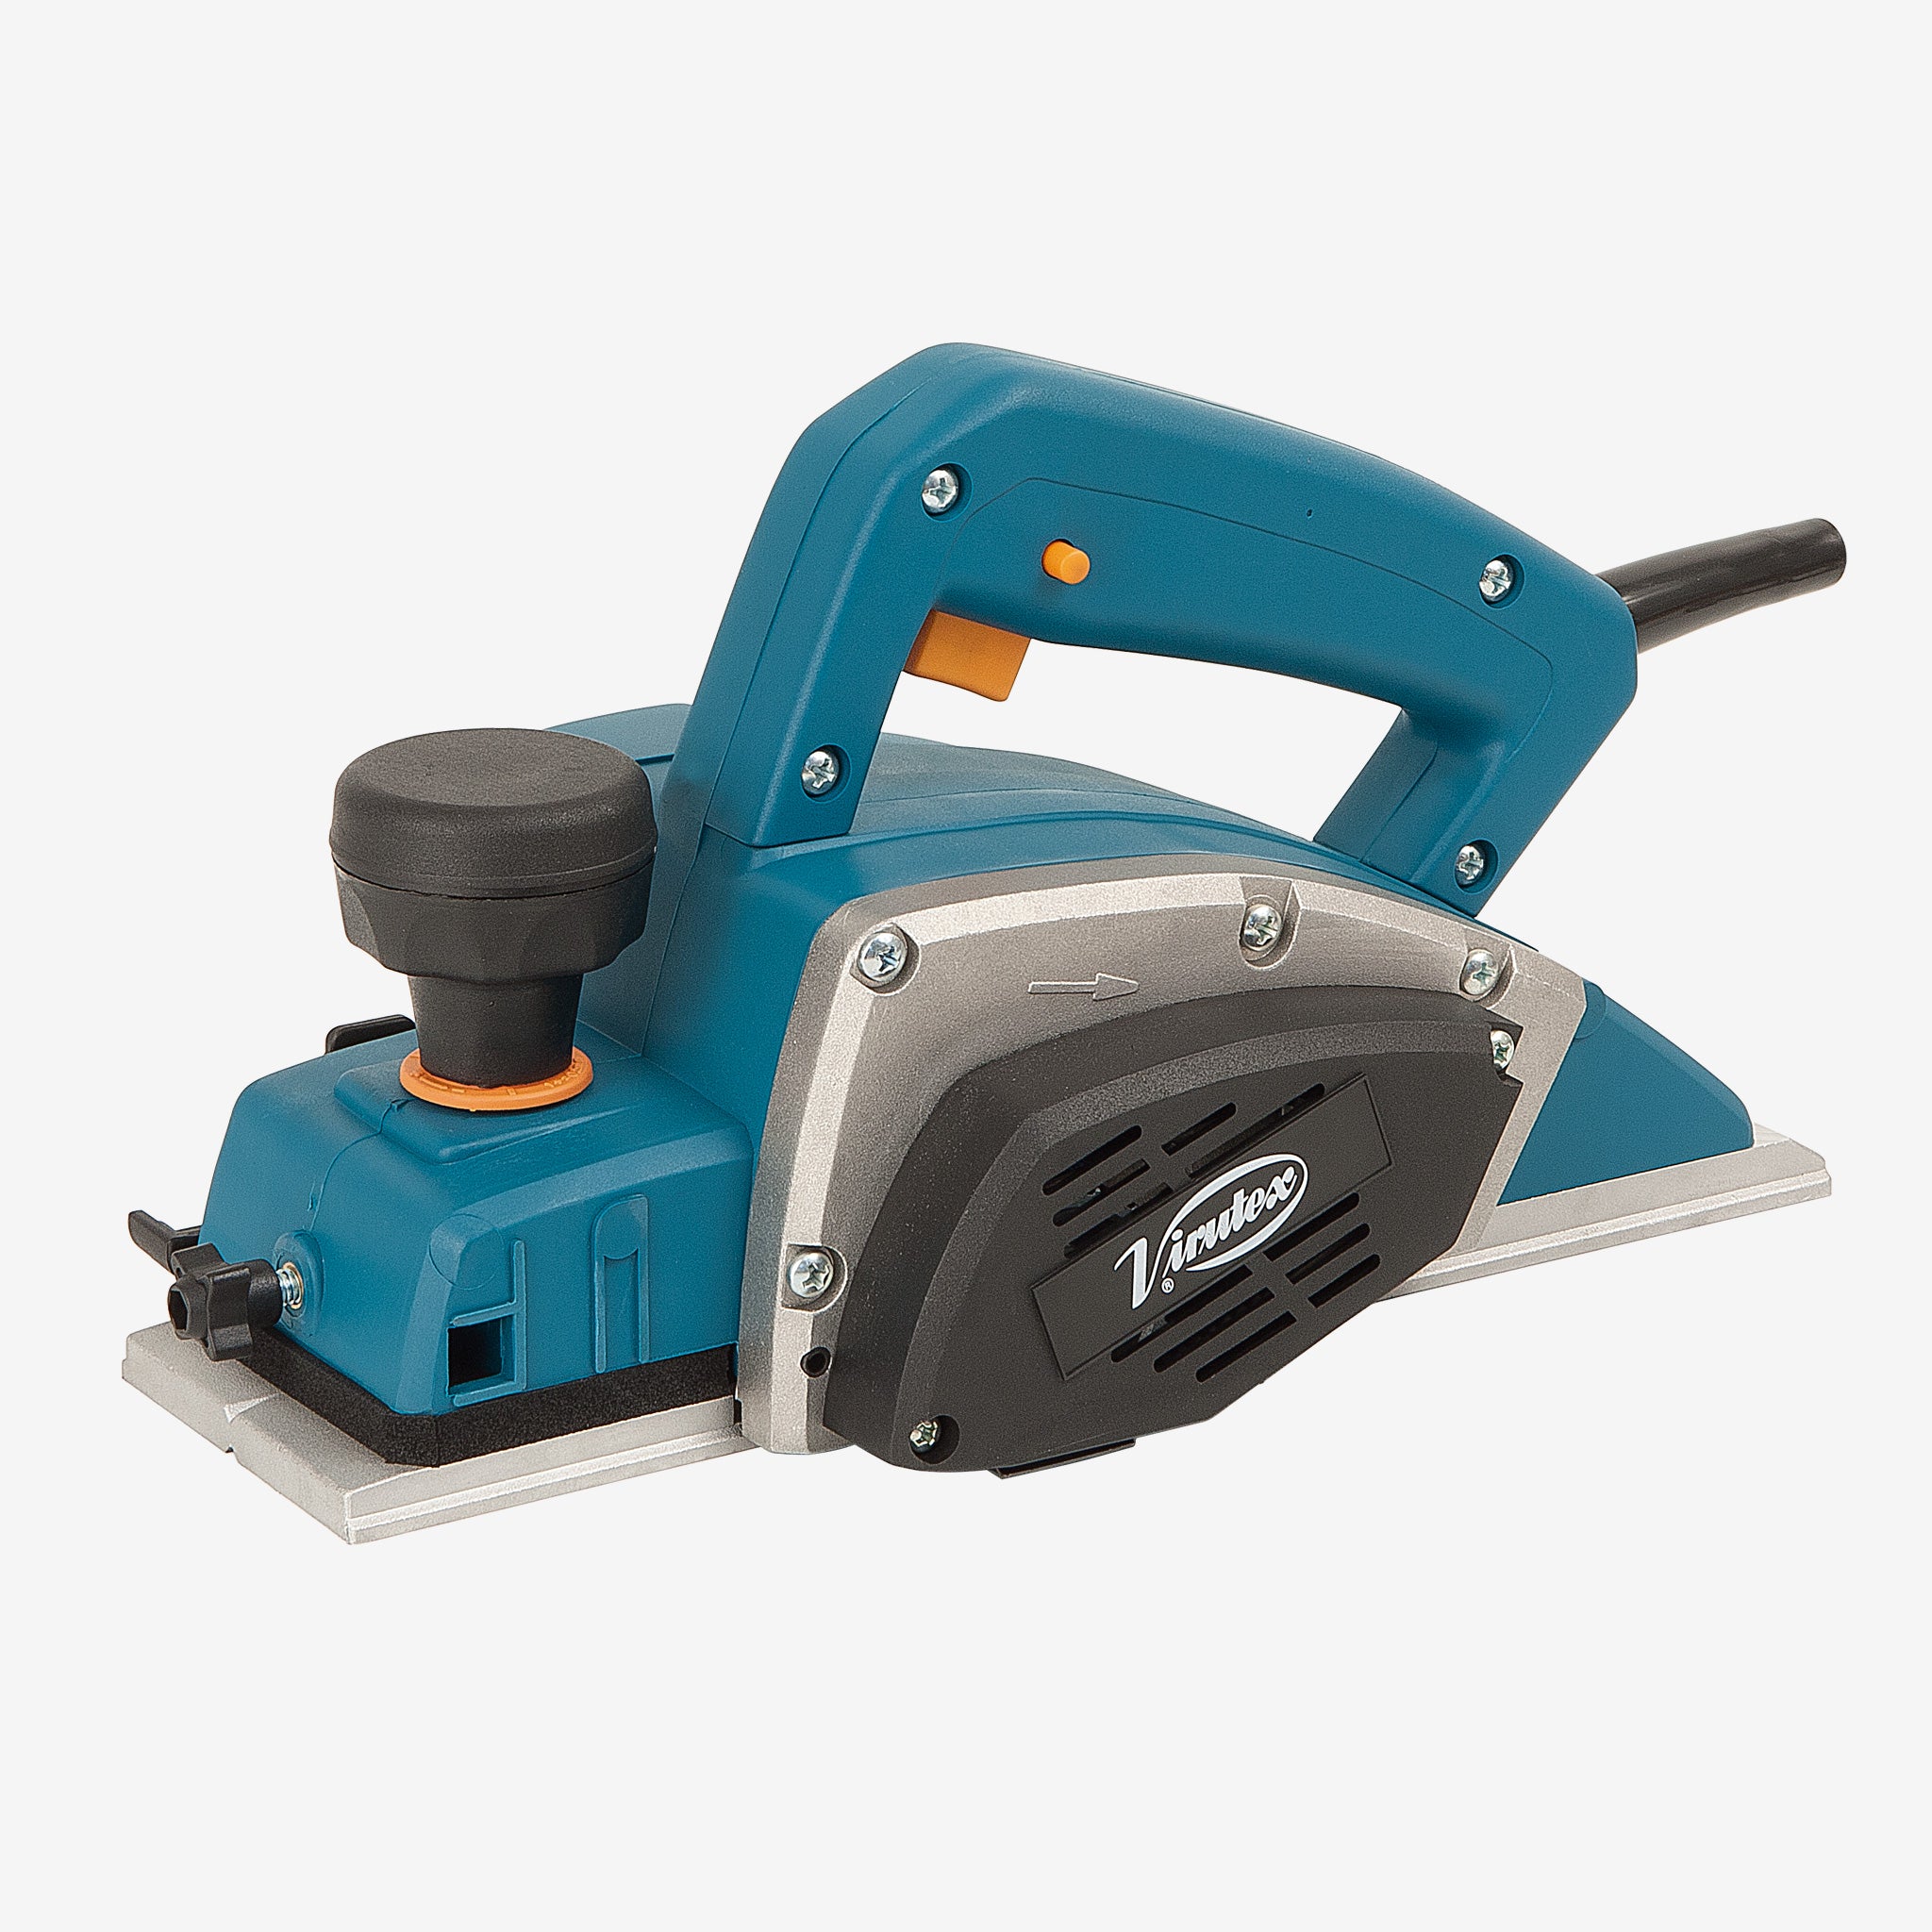
Credit: www.virutextools.com
Challenges With Curved Wood
Planing curved wood brings unique challenges not found with flat boards. The wood’s shape and grain affect how the planer works and the finish quality.
Understanding these challenges helps woodworkers choose the right tools and methods for smooth results on curves.
Wood Grain And Curves
Wood grain changes direction along curves, making the surface uneven. Planers cut best with consistent grain, so curved grain can cause tear-out or rough patches.
- Grain direction shifts on convex and concave curves.
- Planer blades can catch wood fibers on changing grain.
- Soft spots and hard spots appear due to grain variations.
- Curved grain often requires extra sanding after planing.
Common Issues Using Planers On Curves
Using a planer on curved wood can cause problems like uneven cuts and damage to the tool or wood. The curved shape does not feed evenly through the planer.
| Issue | Description | Effect |
|---|---|---|
| Uneven Pressure | Curved wood presses unevenly on planer rollers. | Leads to inconsistent thickness and surface marks. |
| Blade Dulling | Planer blades hit hard edges or grain changes more often. | Blades wear out faster and cut less smoothly. |
| Wood Damage | Edges of curves can chip or splinter during planing. | Requires extra repair and finishing work. |
| Feed Problems | Curves may cause jams or uneven feeding through the machine. | Interrupts workflow and risks machine damage. |
Techniques For Planing Curved Wood
Planing curved wood can be tricky because the surface is not flat. Using the right techniques helps you shape the wood smoothly.
This guide explains how to adjust your tools and use other options for curved wood.
Adjusting The Planer Settings
Most electric planers are made for flat surfaces. You can adjust settings to work better on curves. Reduce the depth of cut to avoid removing too much wood at once.
- Set the planer to a shallow cut depth.
- Move the planer slowly and steadily along the curve.
- Check the wood often to avoid gouges.
- Use multiple light passes instead of one heavy cut.
- Support the wood well to prevent bending during planing.
Using Hand Planes For Curves
Hand planes can be easier to use on curved wood. Their smaller size and control help you follow the shape better.
- Use a spokeshave or a curved hand plane for tight curves.
- Hold the plane at different angles to match the curve.
- Work slowly and check your progress often.
- Sand the wood after planing to smooth the surface.
Alternative Tools For Curved Surfaces
Other tools can help shape curved wood without planers. These tools offer better control and fit the curve better.
| Tool | Use | Best for |
| Spokeshave | Shaving small amounts of wood | Gentle curves |
| Rasp | Removing rough wood quickly | Rough shaping |
| Flexible sanding pad | Smoothing curves | Fine finishing |
| Orbital sander | Even sanding | Large curved surfaces |
Safety Tips When Planing Curves
Using a planer on curved wood can be tricky and risky. It needs careful handling to avoid accidents.
Following safety tips helps protect you and keeps the wood in good shape.
Securing Curved Wood Properly
Curved wood must be held firmly before planing. Loose wood can slip and cause injury.
Use clamps or a jig that fits the curve to keep the wood stable. Check that it does not move at all.
- Place wood on a non-slip surface
- Use padded clamps to avoid marks
- Tighten clamps evenly around curves
- Test stability before turning on the planer
Protective Gear Recommendations
Wear proper safety gear to protect yourself from wood chips and dust. This gear keeps you safe during planing.
Always use eye, ear, and hand protection. Choose gear that fits well and is comfortable to wear.
- Safety glasses or goggles to protect eyes
- Hearing protection like earplugs or earmuffs
- Dust mask or respirator for fine particles
- Work gloves to protect hands from splinters
Expert Advice And Best Practices
Using a planer tool on curved wood requires special care. The shape of the wood can affect how the planer works. You need to prepare the wood and finish it correctly for the best results.
This guide covers key steps before and after planing curved wood. Follow these tips to avoid damage and get a smooth surface.
Preparing Curved Wood Before Planing
Curved wood can be tricky to plane. Start by checking the wood for cracks or loose areas. Secure the wood firmly to stop it from moving during planing. You might need to use clamps or a jig made for curved shapes.
- Inspect the wood for damage or weak spots.
- Clamp the wood securely on a stable surface.
- Mark high spots that need more planing.
- Use a low cutting depth to avoid gouging the wood.
- Plan the direction of the grain to reduce tear-out.
Finishing Touches After Planing
After planing, curved wood often needs extra smoothing. Sanding helps remove any small ridges left by the planer. Use fine-grit sandpaper and follow the wood’s curve gently.
| Task | Purpose | Tips |
| Sanding | Smooths the surface | Use fine-grit paper, sand with the curve |
| Inspecting | Checks for flaws | Look for gouges or uneven spots |
| Sealing | Protects the wood | Apply sealant evenly, allow to dry well |

Credit: www.amazon.com
Frequently Asked Questions
Can A Planer Tool Shape Curved Wood Surfaces?
A planer tool is designed for flat surfaces and struggles with curves. Using it on curved wood may cause uneven cuts or damage. For curves, sanding or specialized carving tools are better suited to maintain the wood’s shape and smoothness.
What Are The Risks Of Planing Curved Wood?
Planing curved wood can lead to gouges, uneven surfaces, or loss of detail. The planer blade may catch on curves, causing splintering. This can damage both the wood and the tool, reducing the quality of your woodworking project.
How To Smooth Curved Wood Without A Planer?
Sanding with flexible sanding pads or sponges works best for curves. Hand tools like rasps or files also help shape curved wood accurately. These methods preserve the wood’s form while achieving a smooth finish without risking damage.
Is A Handheld Planer Better For Curved Wood?
Handheld planers still require flat surfaces for effective use. They offer more control but are not ideal for complex curves. For gentle curves, careful use may work, but sanding remains the safest method for curved wood.
Conclusion
Using a planer on curved wood needs care and patience. Planers work best on flat surfaces. Curves can cause uneven cuts or damage. Try sanding or shaping tools for smooth curves. Take your time and check often. This helps avoid mistakes and keeps your wood safe.
Choose the right tool for the job. This keeps your project looking clean and neat. Keep practicing, and your skills will grow with each piece.