

Are you struggling to get the perfect sound from your car amplifier? Adjusting your car amp can be tricky, especially when you want clear, powerful audio without distortion.
What if you could make precise tweaks quickly and easily? Using an oscillating tool might be the surprising answer. You’ll discover simple, step-by-step tips on how to adjust your car amp with an oscillating tool, so you can enjoy crisp, balanced sound every time you hit the road.
Keep reading to unlock the secrets that will transform your car audio experience.
Choosing The Right Oscillating Tool
Choosing the right oscillating tool is key to adjusting your car amp safely and precisely. The tool must fit the task and your skill level. A wrong choice can damage your equipment or make the job harder. This section helps you pick the best tool for your car audio needs.
Types Of Oscillating Tools
Oscillating tools come in corded and cordless types. Corded tools offer constant power, good for long jobs. Cordless tools give freedom to move without cables. Look for tools with variable speed settings. This lets you control the cutting or sanding speed. Smaller, lighter tools are easier to handle in tight car spaces.
Essential Attachments For Car Audio
Attachments help the tool perform many tasks. A fine-tooth blade cuts wires and trim panels smoothly. A sanding pad smooths surfaces before reattaching parts. A scraper removes old adhesive or dirt. Choose attachments made from durable materials. This ensures they last through multiple uses. Having the right attachments makes amp adjustment faster and neater.
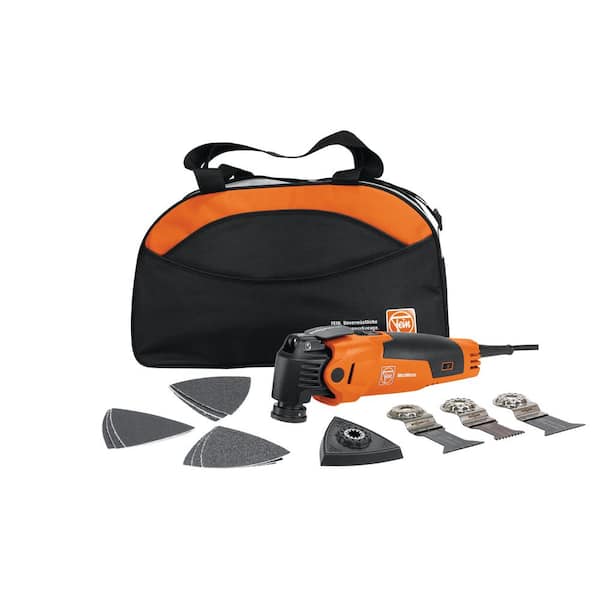
Credit: www.homedepot.com
Preparing Your Car Amp For Adjustment
Start by disconnecting your car battery to ensure safety. Gather all needed tools and clear the workspace around the amplifier. Double-check connections and settings before using the oscillating tool to adjust your car amp.
Safety Precautions
Before adjusting your car amp with an oscillating tool, safety is key. Disconnect the car battery to avoid electric shocks. Work in a dry area to prevent accidents. Wear safety goggles to protect your eyes from sparks or debris. Keep your hands steady to avoid slipping. Ensure the oscillating tool is off before connecting or adjusting it. These steps keep you safe and protect your car’s electronics.
Locating The Amp Controls
Find your car amp’s controls before starting any adjustment. Look under the hood or inside the car near the stereo system. The amp usually has knobs or dials for volume, bass, and treble. Some amps have labels like “Gain,” “Bass Boost,” or “Crossover.” Knowing these controls helps you make precise changes. Take a flashlight if needed to see clearly in dark spaces.
Step-by-step Adjustment Process
Adjusting your car amplifier with an oscillating tool requires a clear process. Follow these steps to get the best sound from your system. The process is simple and helps avoid damage to your equipment. Step-by-step guidance ensures correct settings and better sound quality.
Setting Initial Levels
Start by turning off the amplifier. Set all controls to the middle position. This gives a balanced starting point. Connect the oscillating tool to the amplifier controls. Make sure the tool fits well and moves smoothly. Power on the amplifier and set volume low. Begin with the gain and bass at neutral levels. This prevents sudden loud sounds that can harm speakers.
Using The Oscillating Tool For Precision
Use the oscillating tool to adjust controls slowly. Move the tool in small, steady motions. Check the sound after each adjustment. The tool helps make fine changes without over-turning knobs. This precision improves sound clarity. Avoid quick or large movements. Small steps give better control over sound quality. Listen carefully to notice small differences.
Fine-tuning Bass And Treble
Focus on bass and treble next. Use the oscillating tool to increase or decrease levels. Boost bass for deeper sounds, but not too much. Adjust treble to make sounds clearer and sharper. Test different settings by listening to music. Stop when sound feels balanced and natural. Too much bass or treble causes distortion. Fine-tuning improves overall listening experience.

Credit: www.lowes.com
Common Mistakes To Avoid
Adjusting your car amp with an oscillating tool can improve sound quality. Avoiding common mistakes helps protect your equipment and saves time. Below are key errors to watch out for during the adjustment process.
Overpowering The Amp
Do not set the amp’s power too high. Overpowering can damage speakers and the amp itself. It causes distortion and reduces sound clarity. Always start at a low setting and increase gradually. Check sound quality at each step to avoid harm.
Ignoring Manufacturer Specifications
Every amp has specific guidelines. Ignoring these can lead to poor performance or equipment failure. Read the manual carefully before making adjustments. Follow recommended voltage and frequency limits. Stick to the instructions to ensure safe and effective tuning.
Testing And Verifying Sound Quality
Testing and verifying sound quality is a key step after adjusting your car amp with an oscillating tool. This step helps confirm that your settings provide clear and balanced audio. It also ensures no distortion or buzzing affects your listening experience. Simple methods can help you check your sound quality accurately.
Listening Tips
Choose familiar songs with clear vocals and strong bass. Listen carefully for any crackling or distortion. Play music at different volumes to test consistency. Sit in the driver’s seat to simulate real listening conditions. Adjust the amp slightly if you notice any sound issues. Repeat the test until the audio feels smooth and balanced.
Using Sound Meter Apps
Download a sound meter app on your smartphone. Place the phone near your car speakers. Play a test tone or music and watch the app’s readings. Aim for steady decibel levels without sudden spikes. Use the app to compare left and right speaker volumes. This helps ensure even sound distribution inside your car.
Maintaining Your Car Amp And Oscillating Tool
Maintaining your car amp and oscillating tool ensures they work well for a long time. Regular care keeps the sound clear and the tool effective. It also prevents damage and saves money on repairs. Simple steps can make a big difference.
Regular Cleaning
Dust and dirt can harm your car amp and oscillating tool. Wipe them with a soft cloth after use. Avoid using water or harsh chemicals. Clean vents and connectors carefully to stop overheating. Regular cleaning improves performance and extends life.
Storage Tips
Store your car amp and oscillating tool in a dry place. Avoid areas with high humidity or extreme temperatures. Use cases or covers to protect from dust and damage. Keep cables organized and untangled to prevent wear. Proper storage keeps devices safe and ready to use.
Credit: www.crutchfield.com
Frequently Asked Questions
How Do I Use An Oscillating Tool To Adjust Car Amp?
To adjust your car amp, use the oscillating tool for precise trimming. Carefully remove the amp cover, then fine-tune the amplifier’s gain or crossover settings with the tool for better sound quality. This method ensures accuracy without damaging components.
Can An Oscillating Tool Improve Car Amp Sound Quality?
Yes, an oscillating tool helps achieve precise amp adjustments. By accurately tuning gain and crossover settings, you can enhance sound clarity and balance. This tool offers controlled adjustments, resulting in improved audio performance without risking damage to your amplifier.
Is It Safe To Adjust Car Amp With Oscillating Tool?
Using an oscillating tool is safe if done carefully. Ensure the amplifier is powered off before adjustment. Handle the tool gently to avoid damaging internal parts. Proper technique prevents electrical hazards and maintains your amp’s integrity during tuning.
What Settings Can I Adjust With An Oscillating Tool On Amp?
You can adjust gain, bass boost, and crossover settings using an oscillating tool. These controls affect volume, bass response, and frequency distribution. Precise tweaks optimize your car audio system’s overall sound quality and performance.
Conclusion
Adjusting your car amp with an oscillating tool is simple and effective. Take your time and follow the steps carefully. Small changes can improve your sound quality a lot. Use the tool gently to avoid damage. Check your adjustments by listening to your music.
Keep your setup safe and clean for best results. Practice makes perfect, so don’t rush. Enjoy clearer, better sound on every drive.