

Have you ever found yourself mid-project, only to realize you need to change your angle grinder disc—and you don’t have the right tool? It’s frustrating, right?
But what if you could swap that disc quickly and safely, without hunting for a special wrench or tool? You’ll discover simple, step-by-step methods to change your angle grinder disc without any extra tools. By the end, you’ll save time, avoid hassle, and keep your work flowing smoothly.
Ready to learn how? Let’s dive in!

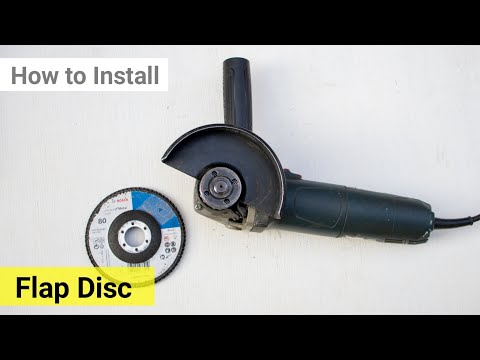
Credit: www.youtube.com
Prepare The Grinder
Before changing the angle grinder disc without a tool, you must prepare the grinder properly. This ensures safety and makes the process easier.
Two important steps in preparation are unplugging the power source and cleaning the disc area. Each step helps avoid accidents and problems.
Unplug The Power Source
Always unplug the angle grinder from the power source before changing the disc. This stops the grinder from turning on accidentally and causing injury.
- Locate the power cord or battery switch.
- Unplug the cord from the wall socket, or remove the battery.
- Double-check that the grinder will not start.
Clean The Disc Area
Cleaning the disc area helps the new disc fit well and prevents dirt from causing damage. Use a cloth or brush to remove dust and debris.
| Tool | Purpose |
| Soft Cloth | Wipe dust from disc flange and spindle |
| Brush | Remove stuck dirt and debris |
| Compressed Air | Blow out hard-to-reach places |
Secure The Grinder
Changing an angle grinder disc without a tool needs safety. Securing the grinder is the first step.
Keep the grinder steady to avoid slips and accidents during the disc change.
Place On A Stable Surface
Put the angle grinder on a flat, steady surface. This helps keep it from moving.
A table or workbench works well. Make sure it does not shake or tilt.
Use A Clamp If Needed
If the grinder still moves, use a clamp to hold it tight. This adds extra safety.
Clamp the grinder to a workbench edge. Check that it cannot slide or spin.
- Use a C-clamp or quick-release clamp
- Place soft material between clamp and grinder to avoid damage
- Do not over-tighten to prevent harm to the tool
Remove The Old Disc
Changing the disc on an angle grinder without tools needs care. Removing the old disc safely is the first step.
Follow these simple actions to remove the old disc easily without extra tools.
Hold The Spindle Lock
Press the spindle lock button on the grinder. This stops the disc from moving. Hold it firmly to keep the disc still.
- Locate the spindle lock button near the disc.
- Press and hold the button firmly.
- Ensure the disc does not spin while you work.
Twist The Disc By Hand
Turn the disc by hand to loosen it. Use your strength but do not force it too hard.
| Action | Tip |
| Grip the disc edge | Wear gloves for safety and better grip |
| Twist counterclockwise | Turn slowly to avoid damage |
| Remove the disc | Lift off gently after it loosens |
Inspect The New Disc
Changing an angle grinder disc without a tool requires careful inspection of the new disc. This ensures safety and good performance. Always take time to check the disc before installation.
Two main points to focus on are checking for damage and matching the disc size. Both help prevent accidents and machine damage.
Check For Damage
Look carefully at the new disc for cracks, chips, or warping. A damaged disc can break during use and cause serious injury.
- Hold the disc up to light to see cracks.
- Run your fingers along the edges to feel for chips.
- Place the disc on a flat surface to check if it lies flat.
- Do not use a disc with any visible damage.
Match The Disc Size
Using the correct disc size is essential. A wrong size disc can cause poor performance or damage to the grinder.
| Disc Diameter | Common Sizes (inches) |
| Small | 4, 4.5, 5 |
| Medium | 6, 7 |
| Large | 9, 10, 12 |
Check the angle grinder’s manual or the old disc for the correct size. Always match the new disc to these measurements.
Attach The New Disc
Changing an angle grinder disc without a tool is simple. You just need to attach the new disc carefully. Make sure the grinder is unplugged or off before you start.
Proper attachment ensures safety and good performance. Follow these steps to fix the new disc correctly.
Align The Disc Properly
Place the new disc on the spindle carefully. The disc hole should fit snugly on the spindle.
Check that the disc is sitting flat. Do not let it tilt or wobble.
- Match the disc hole with the spindle size
- Make sure the disc faces the right way
- Keep the disc centered on the spindle
Tighten By Hand
Once the disc is aligned, tighten the locking nut by hand. Turn it clockwise until it feels firm.
Do not use tools to tighten the nut. Hand tightening is enough to hold the disc in place.
- Turn the nut slowly to avoid cross-threading
- Stop tightening when you feel resistance
- Check the disc for any movement after tightening

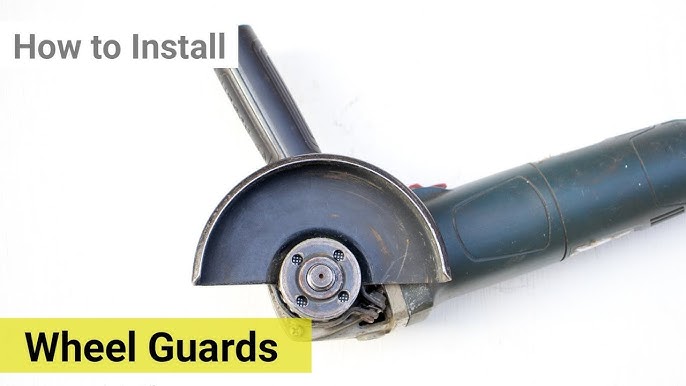
Credit: www.youtube.com
Test The Installation
Testing the installation of your angle grinder disc is essential for safe operation. Ensure everything is secure before starting the tool.
Follow these steps to verify your disc is properly installed and ready for use. This will help prevent accidents and ensure smooth operation.
Plug In The Grinder
First, plug in the angle grinder to a power source. Make sure the power cord is free from tangles or damage.
- Ensure the switch is in the off position before plugging in.
- Inspect the power cord for any cuts or frays.
- Use a grounded outlet to prevent electrical hazards.
Run At Low Speed
After plugging in, run the grinder at low speed. This helps confirm the disc is balanced and correctly installed.
Listen for unusual sounds or vibrations. If you notice any, turn off the grinder immediately and check the disc installation.
| Check | Action |
| Unusual noises | Turn off and recheck installation |
| Vibrations | Ensure disc is tight and secure |
| Smooth operation | Proceed with your task |
Credit: www.youtube.com
Frequently Asked Questions
How Do I Change An Angle Grinder Disc Without A Tool?
You can change the disc by locking the spindle with your hand or a piece of cloth. Then, twist the disc counterclockwise to remove it. Ensure the grinder is unplugged for safety before attempting this method.
Is It Safe To Change The Disc Without A Wrench?
Yes, but only if the angle grinder is unplugged. Use gloves and secure the disc properly. Avoid forcing the disc off, as this might damage the grinder or cause injury.
Can I Use Pliers Instead Of A Tool To Change Discs?
Pliers can help grip the disc flange, but they might damage it. It’s better to use your hand or a cloth to avoid harming the disc or grinder parts.
What Should I Do If The Disc Is Stuck?
Try applying penetrating oil around the disc flange and wait a few minutes. Then, use a firm grip or cloth to twist the disc off carefully. Avoid using excessive force to prevent damage.
Conclusion
Changing an angle grinder disc without a tool is simple and quick. You only need a few easy steps and care. Always make sure the grinder is off before starting. Hold the disc firmly and twist to loosen it. Replace with the new disc and tighten by hand.
This method saves time and avoids extra tools. Practice a few times to get comfortable. Stay safe and work carefully to avoid accidents. Now you can change discs fast and keep your projects moving.