

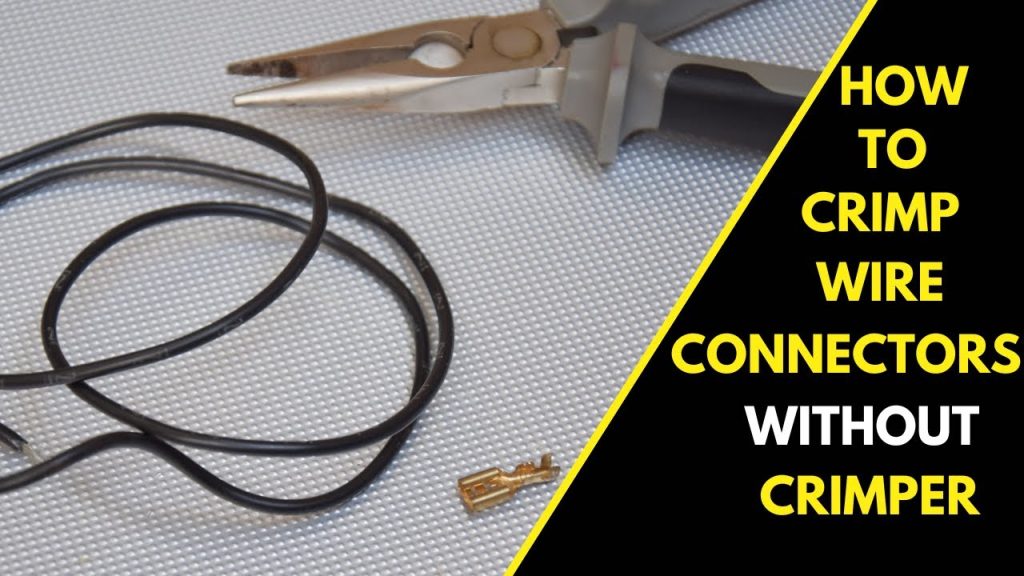
Have you ever found yourself needing to crimp a cable or connector but realized you don’t have a crimping tool on hand? It can be frustrating when the job feels stuck because of missing equipment.
What if you could get the job done quickly and safely without that special tool? You’ll discover simple, effective ways to crimp without a crimping tool—methods that anyone can try with items you probably already have. Keep reading, and you’ll never feel helpless again when faced with a crimping challenge.

Credit: www.youtube.com
Why Crimping Matters
Crimping is a key step in making strong electrical connections. It holds wires and connectors tightly together. This ensures electricity flows well and safely. Many people think crimping needs a special tool. But knowing why crimping matters helps you do it right without one.
Good crimps stop wires from slipping out. They protect connections from damage and wear. Understanding the role of crimps helps you see their value in any project.
Role Of Crimps In Connections
Crimps join wires and terminals by squeezing them tightly. This creates a solid metal bond. It stops wires from moving or breaking inside the connector. A proper crimp keeps the electrical path smooth and strong. It also prevents corrosion by blocking air and moisture.
Risks Of Poor Crimping
Poor crimps cause loose connections. This makes electricity flow uneven or stop. Loose wires can spark and cause fires. Bad crimps also lead to equipment failure. The connection may heat up or break under stress. Fixing poor crimps takes time and money. A bad crimp risks safety and performance.
Credit: www.thehulltruth.com
Common Alternatives To Crimping Tools
Crimping tools are useful for joining wires and connectors securely. Sometimes, these tools may not be available. Common alternatives can help complete your task effectively. These options use everyday tools found at home or in a basic toolbox.
Each alternative has its own method. They can provide a strong connection if done carefully. The key is to apply enough pressure to hold the parts together. Avoid damaging the wires or connectors during the process.
Using Pliers For Crimping
Pliers are a handy tool for crimping without a special crimping tool. Choose flat-nose or needle-nose pliers for better control. Place the connector on the wire and squeeze the pliers firmly. Apply even pressure to avoid breaking the wire. Slowly press the connector to secure it tightly around the wire.
Employing Scissors Or Cutters
Scissors or wire cutters can help in a pinch. Use the flat side of the scissors blade to press the connector. Hold the wire and connector steady on a flat surface. Press the scissors down firmly and evenly over the connector. Repeat if needed to make sure the connection is tight. Be careful not to cut the wire or damage the connector.
Using A Hammer And Hard Surface
A hammer and a hard surface can mimic a crimping tool’s action. Place the connector and wire on a sturdy surface like a wooden block. Hold the connector in place with one hand. Tap the connector gently but firmly with the hammer. Check the connection often to avoid over-crushing. This method works best for larger connectors and wires.
Step-by-step Diy Crimping Methods
Crimping wires without a tool might seem hard. It can be done with some care and simple steps. This section shows easy ways to crimp at home. Follow these steps to connect wires safely and firmly.
Preparing The Wire And Connector
Start by stripping the wire’s end. Remove about half an inch of insulation. Be careful not to cut the wire strands. Check the connector size matches the wire. Clean the wire tip to remove dirt or oils. This helps a better connection.
Securing The Connector Without A Tool
Place the wire into the connector’s metal sleeve. Use pliers or a flat-nose tool to press the sleeve. Apply steady pressure, not too hard to break the wire. Press in small steps around the sleeve. This shapes the metal tightly around the wire.
Ensuring A Tight And Reliable Crimp
Test the crimp by gently pulling the wire. It should not move or slip out. If loose, press the sleeve more firmly again. Check for any gaps between the wire and connector. A tight crimp ensures good electrical contact. Finally, cover the connection with tape for safety.
Materials Needed For Diy Crimping
Crimping without a tool needs the right materials. These materials help you make strong, safe connections. The key is using common items that create pressure to hold wires together. Also, safety gear protects you while working. Below are the materials you need for DIY crimping.
Household Items That Work
You can use pliers to press wires tightly. Needle-nose pliers are best for small wires. A flathead screwdriver can also help push wires into connectors. A hammer works well to tap connectors firmly in place. A small block of wood gives a surface to press on. Even a pair of scissors can pinch wires carefully. These items make good substitutes for a crimping tool.
Safety Gear To Use
Wear safety glasses to protect your eyes from wire ends. Gloves keep your hands safe from cuts and scrapes. Use gloves with good grip to hold wires steady. Work in a well-lit area to see clearly. Keep your workspace clean to avoid accidents. These safety steps help you work confidently and avoid injury.
Tips For Effective Diy Crimping
Crimping without a tool can be tricky but possible. The right technique helps create strong, reliable connections. Small details can prevent many problems. Simple steps make your work easier and safer.
Focus on precision and patience. Good preparation leads to a better outcome. Follow these tips to avoid common errors and check your work effectively.
Avoiding Common Mistakes
Cut wires cleanly to avoid frayed ends. Strip the insulation carefully without damaging the wire. Use the correct size connector for your wire. Do not twist wires too tightly or leave them loose. Make sure the connector fits snugly on the wire.
Press evenly and firmly to avoid weak spots. Avoid using too much force, which can break wires. Keep tools and materials clean to prevent dirt from affecting the connection.
Testing The Connection Strength
After crimping, gently pull the wires to check the grip. The wire should not slide or loosen. Use a multimeter to check for continuity and proper electrical flow. Look for any signs of damage or corrosion around the crimp. If the connection feels weak or unstable, redo the crimp with care.
Test multiple times to ensure durability. A strong connection lasts longer and works better. Proper testing saves time and effort in the long run.
When To Consider Getting A Crimping Tool
Knowing when to get a crimping tool is important for your projects. Using DIY methods can work for small jobs or quick fixes. But certain signs show that a proper tool is needed. This will help you save time and get better results. Investing in the right tool improves your work and makes tasks easier.
Signs Diy Methods Aren’t Enough
Connections feel loose or weak after crimping. Wires slip out or do not hold firmly. You waste time fixing poor connections repeatedly. The finished work looks messy or uneven. Your projects need stronger and safer joints. These problems suggest your DIY ways are not enough.
Benefits Of Investing In Proper Tools
A crimping tool gives strong and reliable connections. It saves time by making work faster and easier. The tool fits different wire sizes and connectors. It creates neat, clean crimps every time. Using the right tool reduces mistakes and frustration. Your projects become safer and last longer.
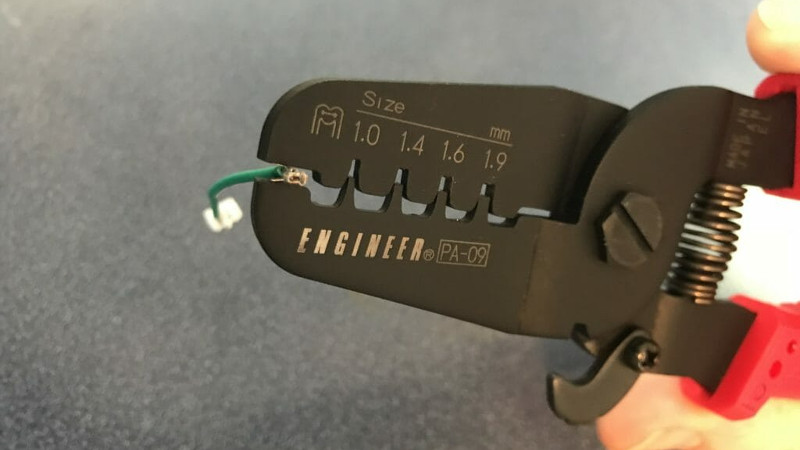
Credit: hackaday.com
Frequently Asked Questions
What Can I Use Instead Of A Crimping Tool?
You can use pliers, a hammer, or even a screwdriver to crimp connectors. These tools help secure wires tightly without professional equipment.
Is Crimping Without A Tool Reliable?
Crimping without a tool can work for temporary fixes. However, it may not be as secure or durable as using a proper crimping tool.
How Do I Avoid Damaging Wires When Crimping?
Use gentle pressure and avoid excessive force. Carefully align the wire and connector to prevent wire breakage or poor connection.
Can I Crimp Connectors With Household Items?
Yes, household items like pliers or a small hammer can help crimp connectors. Ensure the connection is tight and secure to avoid failure.
Conclusion
Crimping without a tool is possible with simple household items. Care and patience help you get a strong connection. Always check your work to avoid loose wires. Practice a few times to improve your skill. This method saves money and works in a pinch.
Remember, safety comes first when handling wires. Keep your workspace clean and organized. Small efforts make a big difference in your project. Try these tips next time you need to crimp. Simple tricks can help you finish tasks quickly.