

Have you ever wanted to draw a toolbox but didn’t know where to start? You’re in the right place.
Drawing a toolbox might seem tricky, but with the right steps, you can create a neat and realistic image easily. This guide will walk you through each step, making it simple and fun. By the end, you’ll have a drawing you can be proud of—and maybe even inspire your creativity for other projects.
Ready to get started? Let’s dive in and make your toolbox come to life on paper!

Credit: www.dreamstime.com
Materials Needed
Before you start drawing a tool box, gather all the materials you need. This helps you work smoothly and get better results.
Using the right tools makes your drawing clear and easy to follow. Here is a list of common materials for this project.
Drawing Tools
You need basic drawing tools to create your toolbox sketch. These tools help you make straight lines and detailed shapes.
- Pencil (preferably HB or 2B)
- Eraser
- Ruler
- Sharpener
- Black fine liner pen
Paper Choices
Choose the right paper for your drawing. It should be smooth and strong enough to handle erasing and inking.
| Paper Type | Recommended Weight | Notes |
| Sketch Paper | 50-70 gsm | Good for practice sketches |
| Drawing Paper | 100-150 gsm | Better for final drawings |
| Marker Paper | 70-90 gsm | Prevents ink bleeding |
Coloring Materials
If you want to add color, pick your favorite coloring tools. They help bring your toolbox drawing to life.
Common coloring materials include:
- Colored pencils
- Markers
- Watercolor paints
Basic Shapes
Drawing a toolbox starts with simple shapes. These shapes help build the form. You do not need to draw details first.
Focus on rectangles and squares to create a solid base. Use light lines to sketch so you can change them later.
Drawing The Base
Begin with a large rectangle for the toolbox body. This shape forms the main part where tools stay. Add a smaller rectangle inside for depth.
- Draw a horizontal rectangle for the main body.
- Add vertical lines to show the sides.
- Sketch a smaller rectangle inside for thickness.
- Use straight lines to keep the shape clear.
Sketching The Lid
For the lid, start with a thin rectangle above the base. It should be slightly wider to cover the toolbox. Add a small handle shape on top.
| Part | Shape | Description |
| Lid | Thin rectangle | Sits on top of the base, wider than the box |
| Handle | Small oval or rectangle | Centered on the lid for easy grip |
Adding Details
Adding details to your toolbox drawing makes it look real and interesting. Small parts like handles and compartments bring your drawing to life.
Focus on each part carefully. Use simple lines and shapes to show these details clearly.
Handles And Hinges
Start by drawing the handle on top of the toolbox. Make it curved or rectangular for a strong look. Draw two small rectangles or circles at the ends to show where the handle connects.
Next, add the hinges on the back side. Use small rectangles or lines near the edges. Hinges help the lid open and close, so show them clearly but simply.
- Draw a curved or straight handle on top
- Add connection points at both ends
- Place small rectangles for hinges on the back
- Use simple shapes to keep it clear
Tool Compartments
Inside the toolbox, draw lines to separate different compartments. Compartments hold tools and keep them organized. Use straight lines to make boxes or sections.
You can add small shapes inside compartments to show tools like screwdrivers or wrenches. Keep these shapes simple so they don’t clutter the drawing.
- Draw straight lines to create compartments
- Make boxes inside the toolbox for tools
- Add simple shapes for different tools
- Keep details clear but not too crowded

Credit: www.youtube.com
Refining The Drawing
After sketching the basic shape of your toolbox, you can improve its look by refining the details. This step makes your drawing clearer and more realistic.
Focus on defining edges and adding shadows. These changes bring depth and interest to your toolbox drawing.
Outlining
Use a darker pencil or pen to trace over the main lines of your toolbox. This will make the shape stand out.
Erase any extra sketch lines that are not part of the final shape. Keep the outlines smooth and clean.
- Trace the outside edges carefully
- Outline the handle and compartments
- Keep lines steady and even
- Remove light sketch marks
Shading Techniques
Shading adds shadows and highlights to your toolbox. It helps show the light source and makes the drawing look three-dimensional.
Use soft strokes to create smooth shadows. Darken areas where light does not hit directly.
- Shade under the handle and lid edges
- Use lighter shading on flat surfaces
- Apply darker tones inside compartments
- Blend shades gently with a smudge tool or finger
Coloring Tips
Coloring your toolbox drawing can make it look real and interesting. Use the right colors and techniques to add depth.
Good coloring brings your drawing to life. It helps show different parts and materials clearly.
Choosing Colors
Pick colors that match a real toolbox. Common colors are red, blue, or black for the box.
Use metallic colors like gray or silver for tools and metal parts. This makes them look shiny.
- Red, blue, or black for the main box
- Gray, silver, or steel colors for tools
- Yellow or orange for handles or accents
- Use darker shades for shadows
Blending And Highlights
Blend colors smoothly to show light and shadow on the toolbox. This adds depth and shape.
Add highlights where light hits the toolbox or tools. Use white or a lighter color for shiny spots.
- Blend dark and light colors gently
- Use soft strokes for smooth color changes
- Add small white spots for highlights
- Highlight edges to show light reflection
Common Mistakes To Avoid
Drawing a toolbox can be fun and rewarding. But there are common mistakes beginners often make. Avoiding these can improve your drawing skills quickly.
Understanding these pitfalls helps you create a more realistic toolbox. Let’s explore the common mistakes and how to avoid them.
Incorrect Proportions
One major mistake is not keeping the proportions right. A toolbox has specific dimensions for each part. Ignoring this can make your drawing look odd.
- Measure each section accurately
- Use a ruler for straight lines
- Check proportions frequently
Ignoring Details
Details like handles and hinges add realism to your toolbox. Missing these can make your drawing look flat and unrealistic.
| Detail | Importance |
| Handle | Essential for carrying |
| Hinges | Allows opening and closing |
| Latch | Keeps tools secure |
Using Too Many Colors
Using too many colors can overwhelm the drawing. Stick to a few colors to keep the toolbox realistic and simple.
Creative Variations
Drawing a toolbox can be fun and creative. You can add your own style and details to make it unique. Explore different ideas and personalize your toolbox drawing.
Adding tools and personal touches can make your toolbox come to life. Let’s look at how you can do this step by step.
Adding Tools
Tools are important in a toolbox. Draw different tools to fill your box. This makes your toolbox look real and useful.
Think about the tools you often use. Draw them in different sizes and shapes. This adds variety and interest to your toolbox.
- Draw hammers with curved handles
- Include screwdrivers with colorful grips
- Add wrenches of different sizes
- Sketch pliers with shiny surfaces
Personalizing The Toolbox
Make your toolbox stand out by adding personal touches. This can include colors, patterns, or stickers.
You can draw your name or initials on the toolbox. Use patterns like stripes or dots to make it eye-catching.
- Paint your favorite colors on the toolbox
- Add stickers of your favorite brands
- Draw patterns like stars or zigzags
- Write your name in bold letters
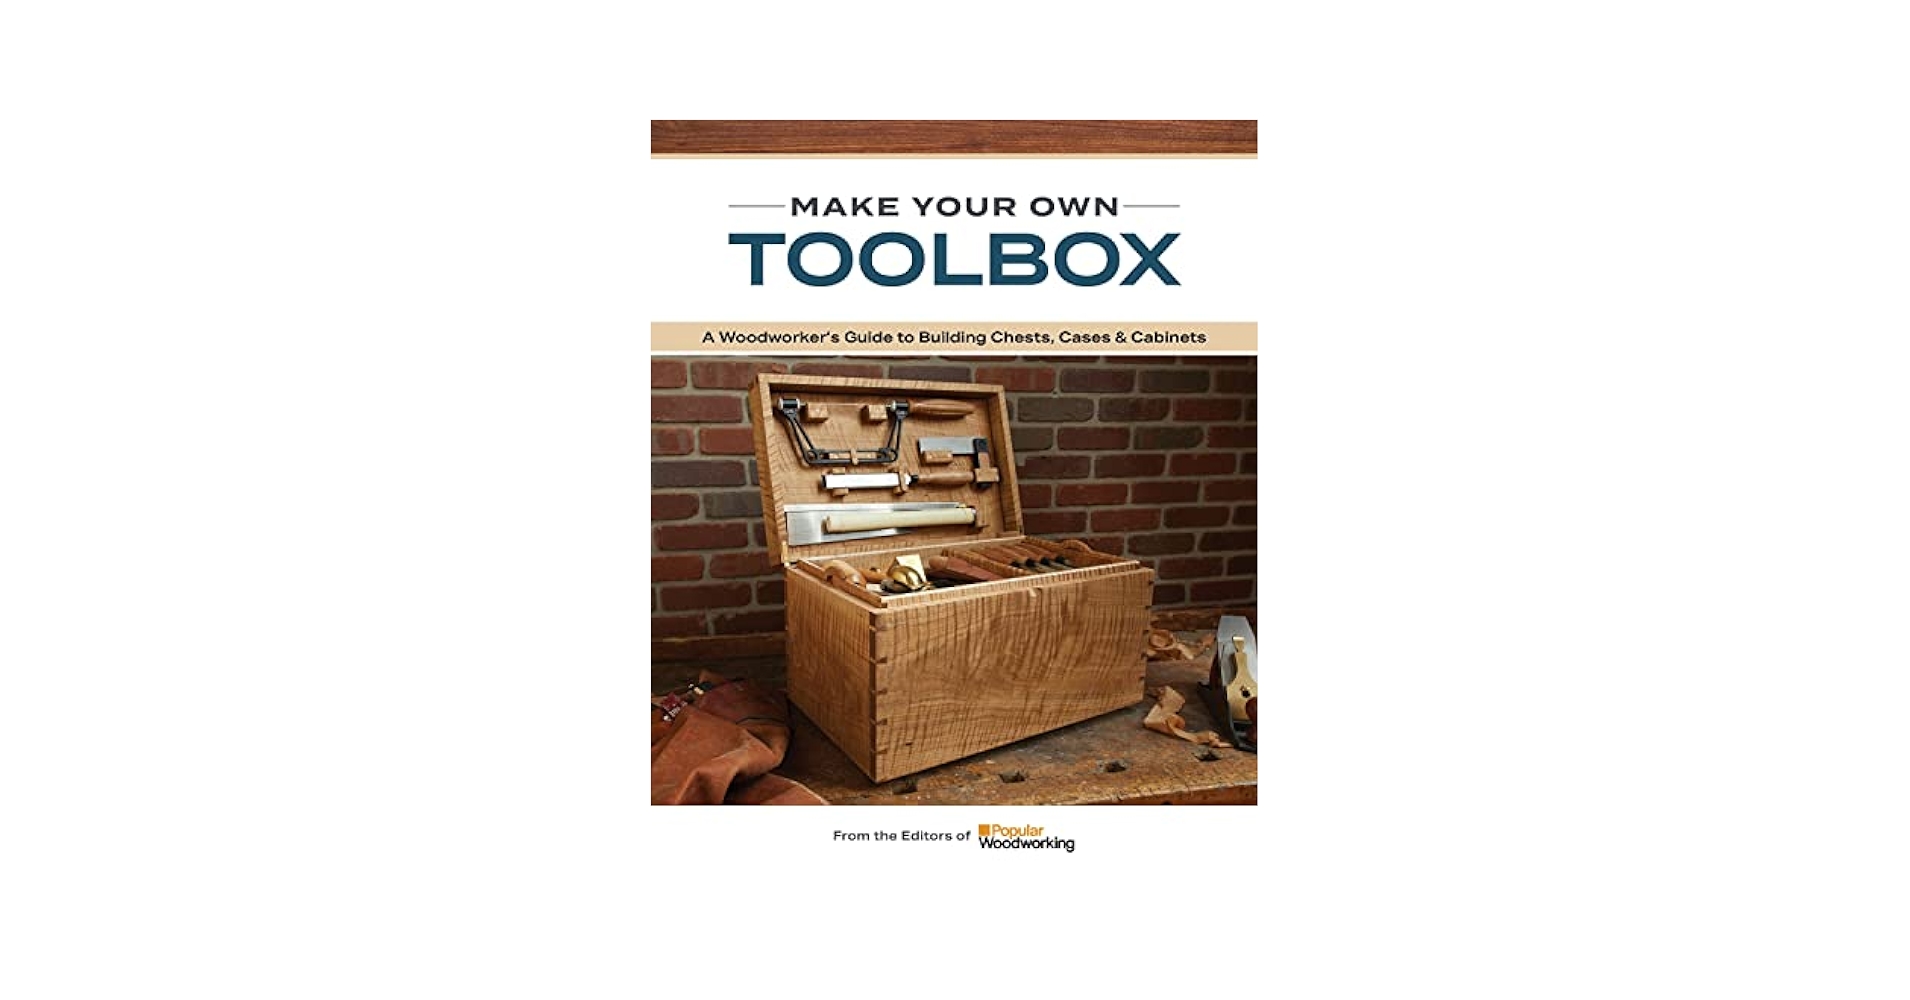
Credit: www.amazon.com
Frequently Asked Questions
How Do I Start Drawing A Tool Box?
Begin by sketching a simple rectangular shape. This forms the main body of the tool box. Use light lines to adjust proportions easily.
What Materials Are Best For Drawing A Tool Box?
Use pencils for initial sketches and fine liners for outlining. Colored pencils or markers add realistic colors and shading.
How Can I Add Depth To My Tool Box Drawing?
Add shadows and highlights to create 3D effects. Use darker shades on edges and lighter tones where light hits.
What Details Make A Tool Box Look Realistic?
Include handles, latches, and texture lines. Small details like screws or dents enhance realism significantly.
Conclusion
Drawing a toolbox step by step is simple and fun. Follow each step slowly and carefully. Practice helps improve your drawing skills. Use basic shapes to build your toolbox. Add details like handles and locks last. Keep your lines clean and clear.
Try drawing different styles for variety. Enjoy the process and be patient. Soon, you will create toolboxes with confidence. Drawing is a useful skill anyone can learn. Keep practicing, and your drawings will get better every time.