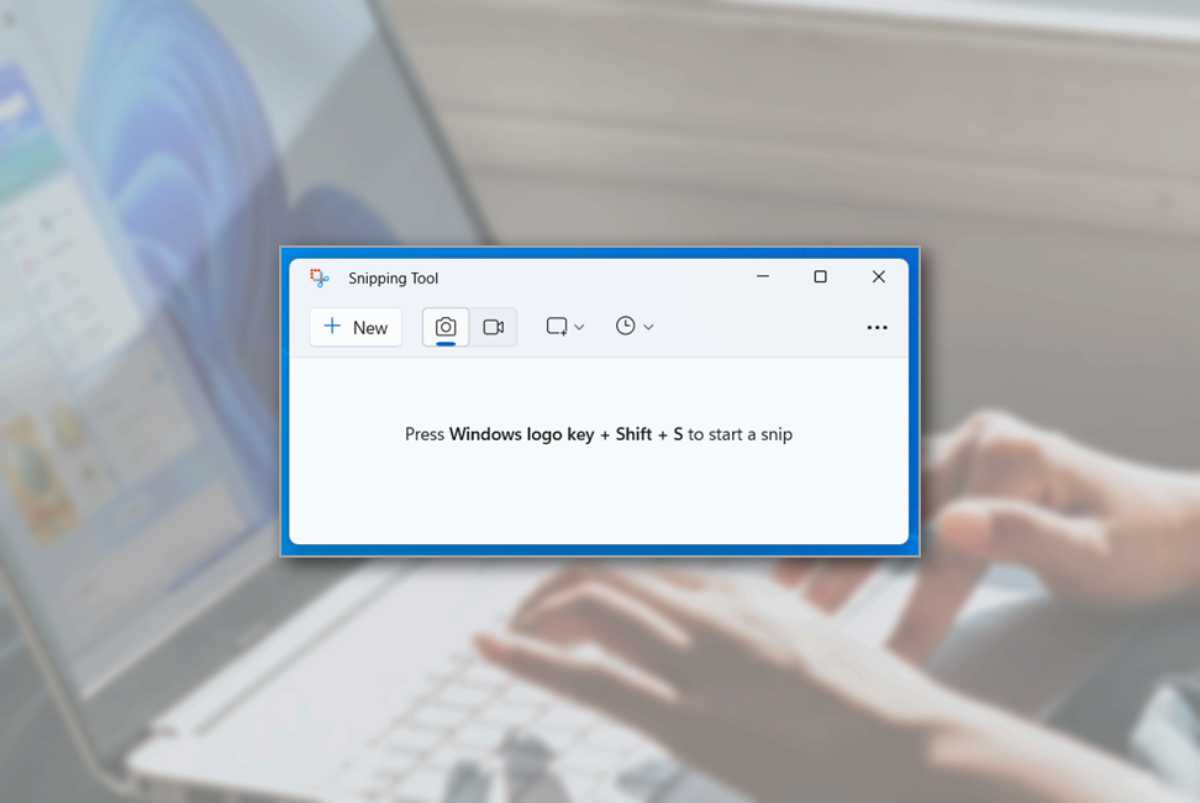
Have you ever needed to quickly capture a part of your screen but didn’t know where to start? The Snipping Tool is the answer, letting you grab exactly what you want in just a few clicks.
If you’re unsure how to pull it up or want to save time the next time you need it, this guide is made for you. Keep reading, and you’ll discover simple steps to open the Snipping Tool fast, so you can capture, save, and share your screen effortlessly every time.

Credit: www.technobaboy.com
Access Snipping Tool On Windows
The Snipping Tool lets you capture parts of your screen. It is useful for saving images or sharing information quickly.
You can open the Snipping Tool in several ways on a Windows computer. This guide shows easy ways to pull it up fast.
Using The Start Menu
Click the Start button at the bottom left of your screen. Then scroll through the apps to find the Snipping Tool.
You can also type “Snipping Tool” in the Start menu search box to find it quickly.
- Click Start
- Scroll or search for Snipping Tool
- Click the Snipping Tool icon to open it
Keyboard Shortcuts
Windows has a keyboard shortcut to open the Snipping Tool faster. Press the Windows key + Shift + S together.
This shortcut opens a small menu to take a screenshot directly. You can select the screen area to capture.
- Press Windows + Shift + S
- Select the part of the screen to snip
- The snip saves to the clipboard automatically
Searching With Cortana
Cortana helps you find apps by voice or typing. Click the Cortana icon or search box on your taskbar.
Say or type “Open Snipping Tool” and Cortana will launch it for you.
- Click Cortana or search box
- Say or type “Open Snipping Tool”
- Wait for Snipping Tool to open

Credit: www.youtube.com
Open Snipping Tool On Mac
Mac does not have a Snipping Tool like Windows. It uses a built-in screenshot utility to take screen captures. You can open and use this tool easily on your Mac.
This guide shows how to use the Mac’s screenshot utility and keyboard shortcuts to capture your screen.
Using Built-in Screenshot Utility
The built-in screenshot utility on Mac lets you capture your screen in many ways. You can take a full screen, a window, or a part of the screen.
To open the screenshot utility, press Command + Shift + 5. A small toolbar will appear on the screen. This toolbar has options for different types of screenshots and screen recordings.
- Capture entire screen
- Capture selected window
- Capture selected portion
- Record entire screen or part of it
- Set timer and save location
Keyboard Shortcuts
You can use easy keyboard shortcuts to take screenshots without opening the toolbar. These shortcuts work fast and save your capture to the desktop or clipboard.
- Command + Shift + 3: Capture the whole screen and save it.
- Command + Shift + 4: Select an area to capture. Drag to choose the part you want.
- Command + Shift + 4, then Space: Capture a specific window. Click the window to capture it.
- Command + Shift + Control + 3: Capture the whole screen and copy to clipboard.
- Command + Shift + Control + 4: Capture a selected area and copy to clipboard.
Pin Snipping Tool For Quick Access
The Snipping Tool helps you take screenshots easily. Pin it to your taskbar or start menu for faster use.
Pinning the Snipping Tool saves time. You do not need to search for it every time.
Pin To Taskbar
Pinning the Snipping Tool to the taskbar keeps it visible at the bottom of your screen. You can open it with one click.
To pin the Snipping Tool to the taskbar, follow these steps:
- Click the Start button and type “Snipping Tool”.
- Right-click on the Snipping Tool app in the search results.
- Select “Pin to taskbar” from the menu.
- The Snipping Tool icon will appear on the taskbar.
Pin To Start Menu
Pinning the Snipping Tool to the Start menu lets you find it quickly when you open the Start screen.
Here is how you can pin the Snipping Tool to the Start menu:
- Open the Start menu and type “Snipping Tool”.
- Right-click the Snipping Tool app from the results.
- Choose “Pin to Start” from the options.
- The Snipping Tool tile will show in the Start menu.
Customize Snipping Tool Settings
The Snipping Tool lets you capture any part of your screen. You can change its settings to fit your needs.
Customizing the tool helps you work faster and capture exactly what you want. Two key settings are capture modes and delay timer.
Changing Capture Modes
The Snipping Tool offers different capture modes. Each mode helps you capture in a different way.
- Free-form Snip:Draw any shape to capture a custom area.
- Rectangular Snip:Select a rectangle area on the screen.
- Window Snip:Capture a specific window you choose.
- Full-screen Snip:Capture the entire screen at once.
You can switch modes by clicking the mode button in the Snipping Tool. Pick the mode that suits your task.
Setting A Delay Timer
Sometimes you need a short delay before the snip happens. The delay timer lets you set this time.
| Delay Time | Use Case |
|---|---|
| 0 seconds | Instant capture, no delay |
| 1-5 seconds | Time to open menus or prepare the screen |
| 10 seconds | More time to set up complex captures |
To set the delay, open the Snipping Tool, click the delay button, and choose a time from the list.
Alternative Screenshot Tools
Many users look for other ways to take screenshots besides the Snipping Tool. These alternatives can offer different features and easier access.
This guide covers some popular third-party apps and browser extensions you can try for screenshot needs.
Third-party Apps
Third-party screenshot apps often have more editing options and capture modes than the Snipping Tool. You can find free and paid versions online.
- Lightshot: Simple interface with quick sharing options.
- Greenshot: Offers easy annotation and image export.
- ShareX: Provides screen recording and many capture modes.
- PicPick: Includes a color picker and graphic editor.
Browser Extensions
Browser extensions capture screenshots directly from your web browser. They work well for saving web pages or parts of them.
| Extension Name | Browser | Key Features |
| Awesome Screenshot | Chrome, Firefox | Full page capture, annotations |
| Fireshot | Chrome, Firefox, Edge | Capture visible area, save as PDF |
| Nimbus Screenshot | Chrome, Firefox | Screen capture, video recording |
| Lightshot Extension | Chrome, Firefox | Quick share, simple editing |

Credit: blog.oudel.com
Frequently Asked Questions
How Do I Open Snipping Tool In Windows 10?
Click the Start menu, type “Snipping Tool” in the search bar, and press Enter. Alternatively, press Windows + Shift + S to open Snip & Sketch, a newer snipping tool.
Can I Use Snipping Tool On Windows 11?
Yes, Windows 11 includes Snip & Sketch, which replaces the Snipping Tool. You can open it by pressing Windows + Shift + S or searching in the Start menu.
Is There A Shortcut To Launch Snipping Tool Quickly?
Press Windows + Shift + S to open the Snip & Sketch tool immediately. This shortcut lets you capture screenshots without opening the app manually.
Where Is Snipping Tool Located On My Pc?
Snipping Tool is located in the Start menu under Windows Accessories. You can also find it by typing “Snipping Tool” in the search bar.
Conclusion
Now you know simple ways to open the Snipping Tool fast. Use the Start menu, search bar, or shortcut keys. Each method helps you capture your screen with ease. Practice a few times to feel confident. This tool saves time and makes sharing images simple.
Keep these tips handy for quick access anytime. Snipping Tool is a helpful feature for work and fun. Try it now and see how easy it is!


