


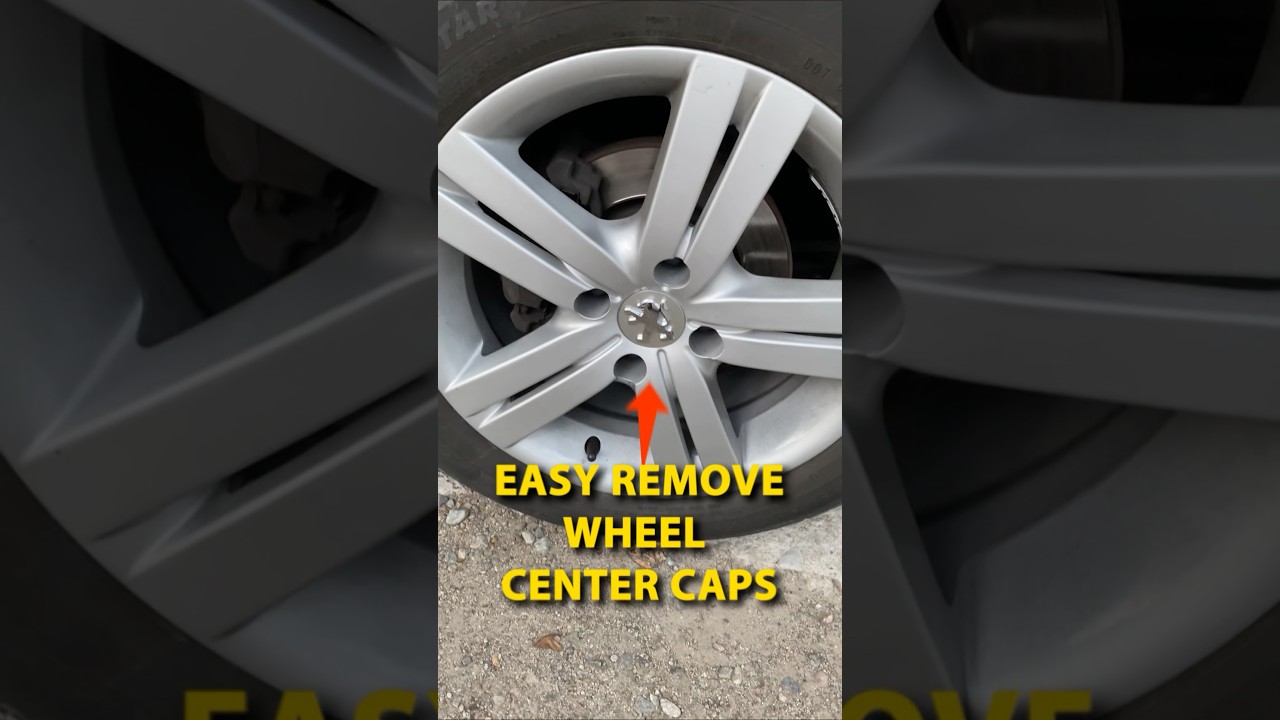
Have you ever tried to remove your car’s center caps but didn’t have the right tool on hand? It can be frustrating when those small covers just won’t budge, and you worry about damaging them or your wheels.
What if you could get them off quickly and safely using simple items you already have? In this guide, you’ll discover easy, effective ways to remove center caps without any special tools. Keep reading, and you’ll save time, avoid costly mistakes, and get your wheels looking just the way you want.
Reasons To Remove Center Caps
Center caps cover the middle part of a wheel. Removing them helps with repairs and cleaning.
Sometimes, center caps need removal to check the wheel or replace parts underneath.
Common Scenarios For Removal
People remove center caps for different reasons. This includes fixing tires and upgrading wheels.
- Changing or fixing a flat tire
- Cleaning brake dust or dirt buildup
- Inspecting wheel bearings or nuts
- Replacing damaged or worn center caps
- Upgrading wheels or customizing appearance
Benefits Of Diy Removal
Removing center caps yourself saves time and money. You do not need special tools.
DIY removal lets you work on your car anytime. It also helps you learn more about your wheels.
- Cost savings on mechanic fees
- Quick access to wheel parts
- Less chance of damaging parts with proper care
- Builds confidence in car maintenance
Credit: www.youtube.com
Materials You Can Use Instead Of Tools
Removing center caps without special tools is possible using common household items. These materials can help you gently pry off center caps without damage.
Using simple objects found at home saves time and avoids extra costs. You just need to be careful and use the right technique.
Household Items That Work
Several household items can replace tools for removing center caps. They offer enough leverage or grip to loosen the caps safely.
- Plastic putty knife – flexible and thin, good for prying.
- Butter knife – use the blunt edge carefully to avoid scratches.
- Flathead screwdriver wrapped in cloth – protects the surface while prying.
- Credit card or old gift card – slides under the cap to pop it off.
- Rubber bands – improve grip when pulling the cap by hand.
- Wooden popsicle stick – gentle leverage without damage.
Safety Precautions
Safety is important when removing center caps without tools. Follow simple rules to avoid injury and damage to your wheels.
| Precaution | Reason |
| Wear gloves | Protects your hands from sharp edges |
| Work on a flat surface | Prevents slipping and accidents |
| Use gentle force | Avoids bending or cracking the cap |
| Cover metal tools with cloth | Prevents scratches on wheels |
| Keep children away | Ensures no accidental injury |
Step-by-step Removal Methods
Removing center caps from wheels can be tricky without special tools. This guide shows easy ways to do it safely.
Use simple items you have at home to remove center caps. Follow these clear steps for each method.
Using A Plastic Card
Take a sturdy plastic card like a credit card or gift card. Avoid cards that can easily bend or break.
Slide the card gently between the center cap and the wheel. Move the card around to loosen the cap.
- Insert the card at the edge of the center cap.
- Push gently to create space.
- Work the card around the cap’s edge.
- Pull the cap off slowly once it loosens.
Leveraging A Spoon Or Flat Object
Use a spoon or another flat object to pry the center cap. Be careful not to scratch the wheel surface.
Place the spoon’s edge under the cap and gently lift it. Move the spoon around to release the clips holding the cap.
- Find a safe spot to insert the spoon.
- Push the handle down to lift the cap slightly.
- Repeat on different sides to loosen the cap evenly.
- Pull the cap off with your hands after loosening.
Employing Tape For Grip
Use strong tape to improve your grip on the center cap. This helps to pull the cap off without slipping.
Wrap the tape around your fingers or create a loop on the cap. Pull steadily to remove the center cap.
- Choose wide and sticky tape.
- Stick tape to the center cap firmly.
- Wrap tape around your fingers or make a pull tab.
- Pull the cap straight out with steady force.
Credit: www.macanforum.com
Tips To Avoid Damage
Removing center caps without tools can be tricky. You must be careful to avoid damage.
Using the right technique protects both the cap and the wheel surface. Here are some tips.
Protecting The Center Cap
Center caps are often made of plastic and can crack easily. Handle them gently to keep them intact.
Start by cleaning around the cap to remove dirt. Dirt can cause scratches during removal.
- Use a soft cloth to clean the cap area.
- Apply gentle pressure when prying the cap.
- A plastic card can help lift the cap without damage.
- Work slowly and avoid forcing the cap off.
Safeguarding The Wheel Surface
The wheel surface can scratch or dent easily. Protect it before removing the center cap.
Place a cloth or tape around the cap edge. This creates a barrier to prevent marks.
- Use painter’s tape around the wheel edge.
- Cover a small area around the cap for protection.
- Use a plastic tool instead of metal to avoid scratches.
- Lift the cap evenly to reduce pressure on the wheel.
Troubleshooting Stuck Center Caps
Center caps on wheels can get stuck over time. Dirt, rust, or tight fittings make removal hard. You can remove them without special tools.
Using simple tricks like heat or lubricants helps loosen stuck center caps. These methods are safe and easy to do at home.
Applying Heat For Loosening
Heat makes metal parts expand and loosen grip. Use heat carefully to avoid damage. A hairdryer or heat gun works well.
Warm the center cap evenly for a few minutes. Avoid direct flames or too much heat. After warming, try to pull the cap gently.
- Use a hairdryer on medium heat
- Keep heat moving to avoid damage
- Do not overheat plastic parts
- Test removal after heating for 2-3 minutes
Using Lubricants Safely
Lubricants help reduce friction between the center cap and wheel. Spray a small amount around the edges of the cap.
Let the lubricant sit for 5 to 10 minutes. This helps loosen rust or dirt holding the cap. Wipe excess lubricant before pulling the cap.
- Choose a penetrating oil or silicone spray
- Apply lightly around the cap edges
- Wait a few minutes for the lubricant to work
- Clean off extra spray to prevent slipping
Credit: www.subaruoutback.org
Reinstalling Center Caps Properly
Center caps can fall off if not reinstalled correctly. It’s important to ensure they are secure to prevent loss while driving.
Follow the steps below to reinstall your center caps without special tools, ensuring they fit snugly and safely.
Aligning And Pressing Back
Proper alignment is key to a secure fit. Make sure the center cap is aligned with the wheel before pressing it back into place.
- Check the cap for any damage before reinstalling.
- Align the cap with the wheel’s center opening.
- Press evenly around the edges until it clicks into place.
Ensuring Secure Fit
Once aligned, ensure the cap is secure. This prevents it from coming off during travel.
To test the fit, gently pull on the cap edges. If it feels loose, repeat the alignment process. A secure cap will not move easily.
| Action | Purpose |
| Visual Inspection | Check for cracks or damage |
| Alignment | Ensure proper fitting |
| Pressing | Secure the cap in place |
| Testing | Verify the cap is tight |
Frequently Asked Questions
How Can I Remove Center Caps Without Special Tools?
You can use household items like a flathead screwdriver or a butter knife. Gently pry the cap from the edges to avoid damage.
Is It Safe To Remove Center Caps Without A Tool?
Yes, if done carefully. Avoid using excessive force to prevent scratching or bending the cap or wheel.
What Household Items Work To Remove Center Caps?
Items like a flathead screwdriver, butter knife, or pry bar work well. Wrap them in cloth to protect the wheel.
How Do I Avoid Damaging Wheels When Removing Center Caps?
Apply gentle, even pressure and use a protective cloth between the tool and wheel. Work slowly around the cap’s edges.
Conclusion
Removing center caps without tools is easier than it seems. Use simple household items like a plastic card or your fingers. Work slowly and gently to avoid damage. Patience helps prevent scratches on your wheels. Practice makes the process smoother each time.
With care, you can save money and time. Try these tips next time you need to remove center caps. Keep your wheels looking clean and well-maintained. Simple steps, good results.