

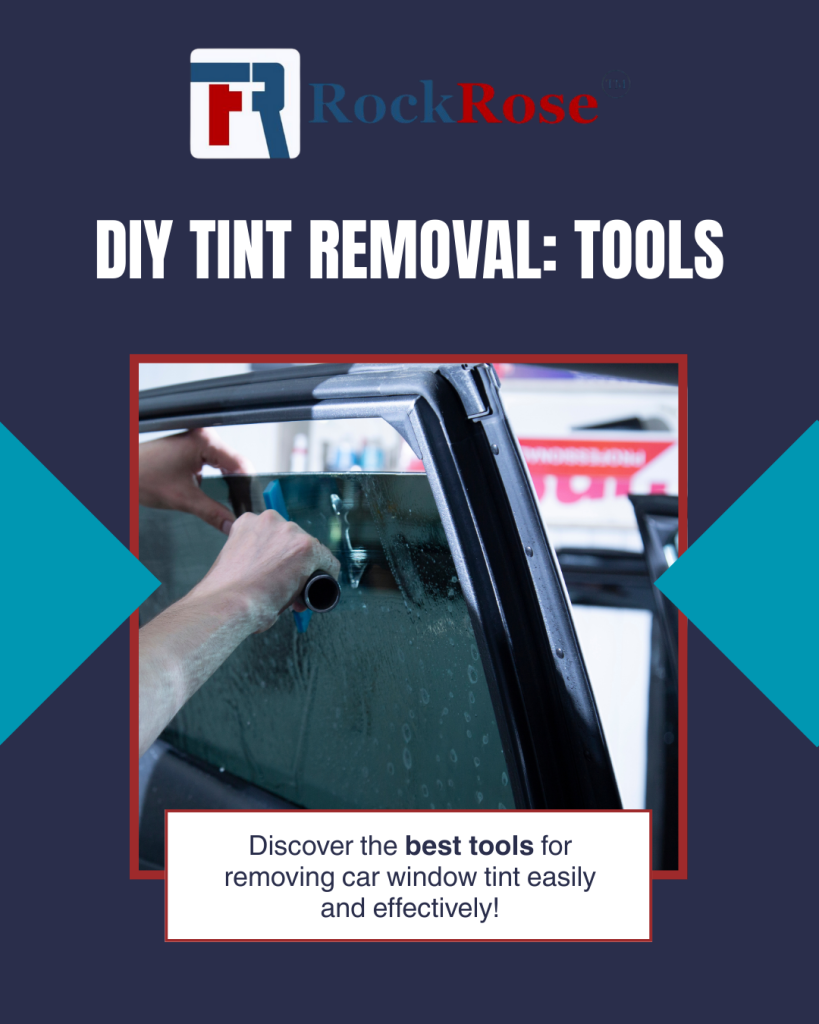
Are you struggling to remove tinted window film from your car’s glass? You’re not alone.
Whether the tint is old, damaged, or simply no longer what you want, taking it off can feel tricky and frustrating. But don’t worry—this guide will show you easy, step-by-step methods to get the job done without damaging your windows.
By the end, you’ll have clear, spotless glass and the confidence to handle this task yourself. Keep reading to discover how simple removing tinted window film can be!
Credit: carlikefilm.com
Tools Needed
Removing tinted window film from auto glass requires the right tools. Having these ready will make the process easier and safer.
This guide covers the basic supplies and some optional equipment to help you remove the film cleanly.
Basic Supplies
These supplies are essential to start removing the window tint without damaging your auto glass.
- Spray bottle filled with soapy water or a window cleaner
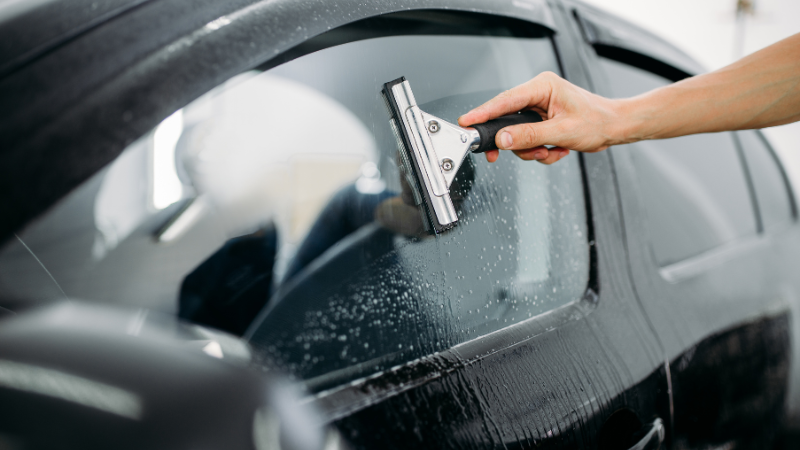
- Plastic razor blade or scraper to lift the film edges
- Paper towels or microfiber cloths for cleaning
- Heat gun or hair dryer to soften the adhesive
- Gloves to protect your hands from sharp edges or chemicals
Optional Equipment
These tools can help speed up the removal or make it easier but are not strictly required.
| Tool | Purpose |
| Ammonia or commercial adhesive remover | Breaks down glue residue left on the glass |
| Plastic scraper with a handle | Provides better grip and control for scraping |
| Utility knife or blade | Helps cut large film pieces into smaller, manageable sections |
| Masking tape | Secures film edges for easier peeling |
| Heat-resistant gloves | Protects hands from heat when using a heat gun |
Credit: carlikefilm.com
Preparing Your Workspace
Removing tinted window film needs a clean and safe workspace. Prepare your area before starting the job.
A well-prepared workspace helps you work faster and avoid damage to your vehicle or tools.
Choose A Suitable Location
Pick a place with enough space to move around your car. The area should be dry and sheltered from wind.
Good lighting helps you see the film clearly and remove it carefully.
- Work indoors or in a covered garage
- Ensure the floor is flat and clean
- Avoid places with direct sunlight to reduce glare
- Keep your tools and materials nearby
Protect Surrounding Areas
Cover parts of the car near the windows to stop scratches or damage. Use protective sheets or cloths.
Protect the interior inside the car from water or cleaning chemicals.
- Use painter’s tape to shield window edges
- Lay down plastic sheets on seats and door panels
- Keep cleaning sprays and water away from electronics
- Wear gloves to avoid fingerprints on glass
Removing Film With Heat
Removing tinted window film from auto glass can be easier with heat. Heat softens the adhesive and makes peeling the film simpler.
Using the right tools and careful steps helps avoid damage to the glass or car surfaces.
Using A Heat Gun Or Hair Dryer
Apply heat evenly across the film using a heat gun or hair dryer. Keep the device moving to avoid overheating one spot.
- Hold the heat gun or dryer about 6 inches from the glass.
- Move in slow, circular motions to warm the film.
- Heat the film for 2 to 3 minutes until it feels soft.
- Wear gloves to protect your hands from heat.
Peeling Off The Film
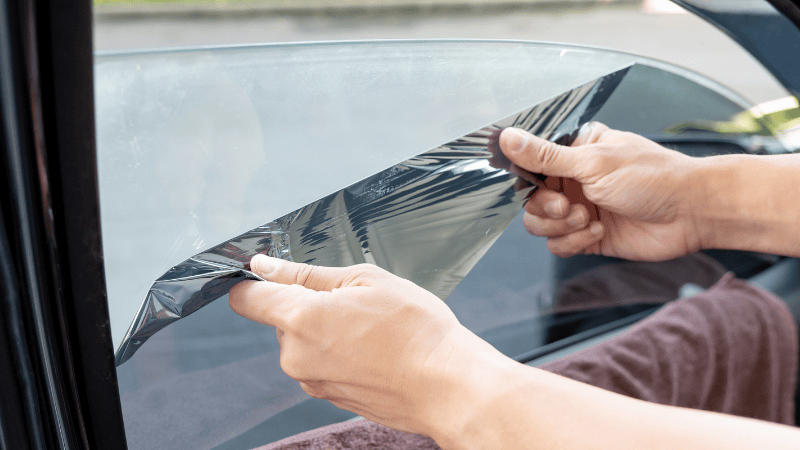
After heating, start peeling the film from one corner. Pull slowly to avoid tearing.
| Tip | Reason |
| Use a plastic scraper | Prevents glass scratches |
| Peel at a 45-degree angle | Reduces film tearing |
| Keep heating if film resists | Softens adhesive for easier removal |
| Clean glass after removal | Removes leftover adhesive |
Using Soapy Water Method
Removing tinted window film from your car glass can be easy. Using soapy water helps soften the adhesive.
This method is safe and uses simple materials you may have at home. It reduces the risk of scratching the glass.
Mixing The Solution
Start by preparing a soapy water mixture. This solution will help loosen the film from the glass.
Use warm water to help dissolve the soap better. Avoid using harsh chemicals that may damage the glass.
- Fill a spray bottle with warm water
- Add a few drops of mild liquid soap
- Shake the bottle gently to mix
Applying And Loosening The Film
Spray the soapy water generously onto the tinted film. Let it soak for several minutes to soften the adhesive.
Use a plastic scraper or your fingernail to lift the film edge gently. Pull the film slowly while spraying more solution as needed.
- Spray the soapy water on the entire film
- Wait 5 to 10 minutes to loosen the glue
- Lift a corner with a plastic tool or fingernail
- Peel the film slowly, spraying more solution
- Clean the glass with soapy water after removal
Scraping Residue Safely
Removing tinted window film from auto glass can leave sticky residue behind. Scraping this residue off requires care. Using the right tools and techniques helps protect the glass.
Scraping too hard or using the wrong scraper can scratch the glass. Follow safe steps to clear the residue without damage.
Selecting The Right Scraper
Choose a scraper made for glass surfaces. Plastic scrapers work better than metal ones. They remove residue without scratching.
Look for scrapers with a handle that fits your hand well. This gives better control and reduces slips.
- Use a plastic razor blade or plastic scraper tool
- Avoid metal scrapers or knives
- Pick scrapers with a wide, flat edge
- Choose a scraper with a comfortable grip
Techniques To Avoid Scratches
Always wet the glass before scraping. Water softens residue and helps the scraper slide. Work slowly and gently.
Hold the scraper at a low angle to the glass. This reduces pressure and lowers the risk of scratches.
- Spray water or soapy water on the residue
- Use light pressure with slow scraping motions
- Keep the scraper blade clean and free of debris
- Stop scraping if you feel resistance or hear scratching
Credit: roxauto.com.au
Cleaning The Glass
Removing tinted window film from auto glass can be tricky. Cleaning the glass properly is important for a clear view.
After peeling off the tint, you might notice some sticky residue left behind. This needs to be cleaned thoroughly to restore the glass to its original clarity.
Removing Adhesive Residue
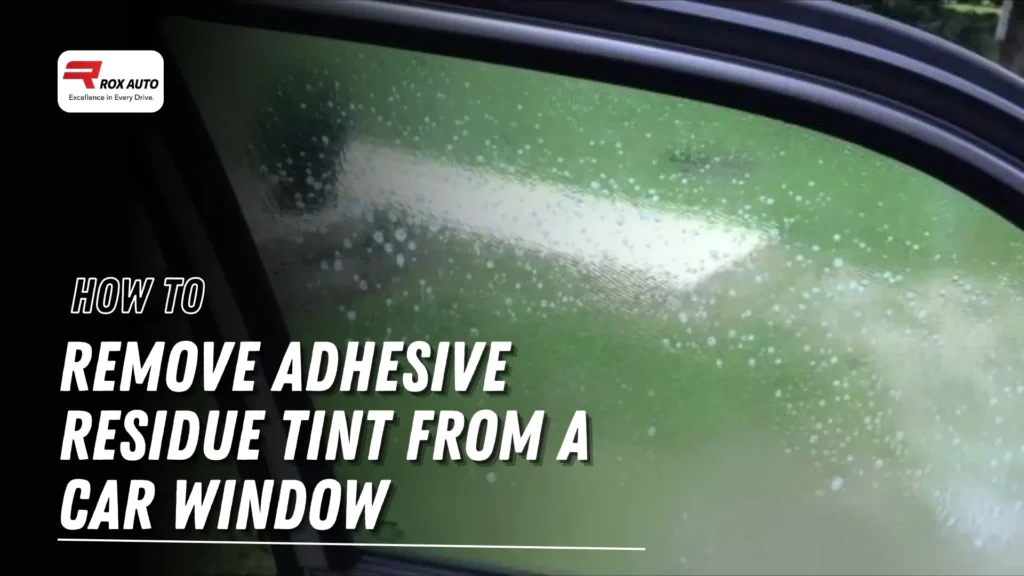
Adhesive residue can be stubborn. Use a safe adhesive remover for auto glass. Apply it on the sticky spots.
A soft cloth or sponge works best to rub gently. Avoid using sharp objects to prevent scratching the glass.
- Apply adhesive remover carefully
- Rub with a soft cloth
- Check for any leftover residue
Final Glass Cleaning Tips
Once the adhesive is gone, clean the glass with a quality glass cleaner. Spray it evenly over the surface.
Use a microfiber cloth for a streak-free finish. Wipe in a circular motion for the best results.
- Spray glass cleaner evenly
- Use a microfiber cloth
- Wipe in circular motions
Common Mistakes To Avoid
Removing tinted window film from auto glass can be tricky. Many people make mistakes that complicate the process.
Here are common errors to avoid for a smooth film removal experience.
Using The Wrong Tools
Using incorrect tools can damage your auto glass. Always choose the right tools for the job.
- Use a plastic scraper, not metal
- Buy a quality adhesive remover
- Have a heat gun handy
Skipping The Heat Gun
Heat guns soften the adhesive, making film removal easier. Skipping this step can lead to frustration.
Rushing The Process
Patience is key when removing window film. Rushing can cause tears and leave adhesive behind.
| Step | Recommended Time |
| Heating | 10 minutes |
| Peeling | 15 minutes |
| Cleaning | 10 minutes |
Ignoring Safety Precautions
Ignoring safety can lead to injury. Always protect yourself when working with tools and chemicals.
When To Seek Professional Help
Removing tinted window film from auto glass can be tricky. Some situations need expert skills. Knowing when to get professional help saves time and prevents damage.
This guide explains when to stop and call a pro. It covers difficult cases and safety concerns to watch for.
Old Or Stubborn Film
Film that has been on the glass for many years may not come off easily. It can leave adhesive residue or cause scratches. Professionals have special tools and products to handle this safely.
Damaged Or Cracked Glass
If the window glass is cracked or damaged, removing the film yourself can worsen the problem. A professional will assess the damage and remove the film without causing more harm.
Complex Window Shapes
Windows with curves or unusual shapes need careful handling. Film removal on these windows is harder and may cause damage if done wrong.
- Curved side windows
- Rear windows with defrost lines
- Small or hard-to-reach areas
Time Constraints
Removing window film takes time. If you need the job done quickly, professionals can complete it faster and cleanly.
Risk Of Injury
Using sharp tools and chemicals to remove window film can be dangerous. Professionals are trained to do this safely and protect themselves and your vehicle.
| Reason | Why Seek Professional Help |
| Old or Stubborn Film | Special tools needed to avoid damage |
| Damaged Glass | Prevent worsening cracks or breaks |
| Complex Window Shapes | Requires expert handling |
| Time Constraints | Faster, clean removal |
| Risk of Injury | Safety with tools and chemicals |
Frequently Asked Questions
How Do I Remove Tinted Window Film Safely?
To remove tinted film safely, use a heat gun or hairdryer to warm the film. Peel slowly from one corner. Use adhesive remover to clean residue without scratching the glass.
What Tools Are Needed To Remove Auto Window Tint?
You need a heat source (hairdryer or heat gun), a razor blade or plastic scraper, adhesive remover, and microfiber cloths for cleaning.
Can I Remove Tinted Window Film Myself?
Yes, you can remove it yourself by heating and peeling the film carefully. Take your time to avoid damaging the glass or defrost lines.
How Long Does It Take To Remove Window Tint?
Removing tint usually takes 30 to 60 minutes, depending on the size and adhesive strength of the film.
Conclusion
Removing tinted window film from auto glass takes time and care. Use the right tools and be patient. Heat and gentle scraping work best to avoid damage. Clean the glass well after removing the film. This helps keep your windows clear and smooth.
Remember, rushing can cause scratches or residue. Take small steps for a better result. Now, your car windows can look fresh and clear again.