


If you’ve ever needed to make your own Ethernet cables, knowing how to use a crimping tool for RJ45 connectors is a must. You might think it’s complicated, but with the right steps, you can do it quickly and confidently.
Imagine saving money, customizing cable lengths, and fixing network issues on your own. This guide will walk you through the entire process, breaking it down into simple, clear steps. By the end, you’ll have the skills to create perfect cables every time.
Ready to take control of your network setup? Keep reading and discover how easy it can be.
Choosing The Right Crimping Tool
Choosing the right crimping tool is important for making good RJ45 connections. The right tool ensures strong, reliable cables. It saves time and prevents mistakes. Picking the best tool depends on your needs and skill level. This guide helps you understand what to look for.
Types Of Crimping Tools
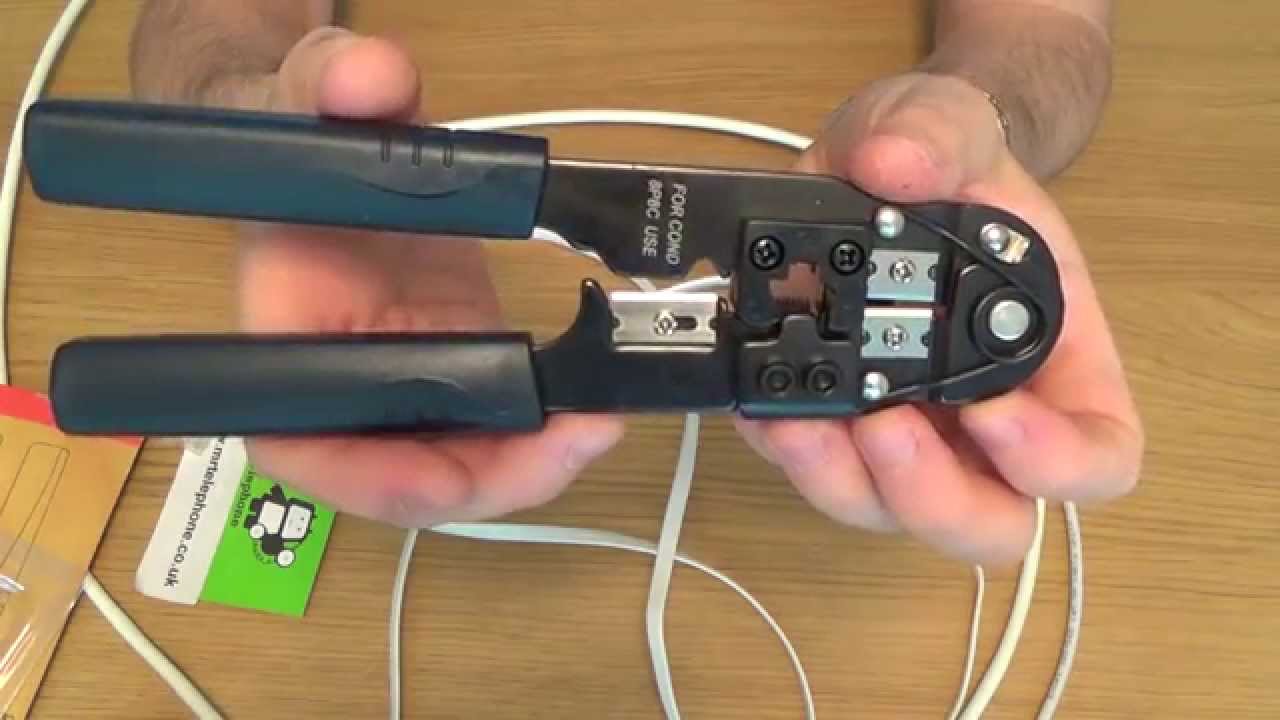
There are several types of crimping tools for RJ45 connectors. Basic models only crimp the connector onto the cable. Multi-functional tools also cut and strip wires. Ratchet crimpers apply even pressure for better connections. Choose a type that fits your project size and frequency.
Features To Look For
Look for a tool with comfortable grips for long use. The tool should fit standard RJ45 connectors precisely. Check for built-in wire cutters and strippers. A ratchet mechanism helps avoid weak crimps. Durable materials increase the tool’s lifespan. Simple design makes the tool easy to use.
Tool Maintenance Tips
Keep the tool clean after each use. Wipe it with a dry cloth to remove debris. Oil moving parts lightly to prevent rust. Store the tool in a dry place. Check for loose or damaged parts regularly. Proper care keeps the tool working well for years.
Credit: www.youtube.com
Preparing Your Materials
Preparing your materials is the first step to crimping an RJ45 connector. Having the right tools and parts makes the job easier. It ensures a strong and reliable network connection. This section guides you through selecting connectors, cables, and preparing the cable for crimping.
Selecting The Correct Rj45 Connectors
Choose connectors that fit your cable type. Most common are Cat5e, Cat6, and Cat6a connectors. Match the connector to the cable’s category for the best performance. Check that the connectors have clear pins and a sturdy plastic body. Avoid connectors that look cheap or weak.
Choosing The Right Ethernet Cable
Select the proper Ethernet cable for your network. Cat5e cables work well for basic home networks. Cat6 cables offer better speed and less interference. Use shielded cables if your setup has many electronic devices nearby. Ensure the cable length fits your needs without extra slack.
Cutting And Stripping The Cable
Use a cable cutter to make a clean cut. Avoid crushing or damaging the wires inside. Strip about one inch of the outer jacket carefully. Do not nick the inner wires. Separate the twisted pairs and straighten them gently. Proper stripping helps the connectors fit securely.
Arranging The Wires
Arranging the wires correctly is a key step in making a strong RJ45 cable. This step ensures the cable works well and lasts long. Careful wire arrangement helps avoid connection problems and signal loss.
Follow the right order and prepare the wires carefully. This makes the crimping process smooth and successful. Let’s look at how to arrange the wires properly.
Color Coding Standards
Use the right color code for your cable type. The two common standards are T568A and T568B. Each has a specific order for the eight wires inside the cable. T568B is the most common for home and office networks.
Follow the chosen standard exactly. This keeps the wires in the right order for data to travel properly. Mixing colors can cause the cable to fail or slow down.
Aligning The Wires Properly
Straighten each wire before placing them side by side. Make sure all wires are flat and even. The ends should line up neatly. This helps the wires fit well inside the RJ45 connector.
Hold the wires tightly and check their order again. Loose or twisted wires can cause poor contact inside the connector. A clean alignment leads to a stronger connection.
Trimming Excess Wire
Cut the wires evenly at the end. Leave just enough wire to reach the connector pins. Too long wires can bend or touch each other inside the connector.
Use sharp scissors or wire cutters. Trim the wires straight across for a neat finish. This step prepares the cable for a perfect crimp.

Credit: www.youtube.com
Inserting Wires Into The Connector
Inserting wires into an RJ45 connector is a crucial step in making a reliable network cable. This process ensures that each wire fits perfectly into its slot. Correct insertion prevents connection problems and signal loss.
Take your time to place each wire carefully. This step sets the foundation for a strong and stable network connection.
Checking Wire Placement
Start by arranging the wires in the correct order. Follow the T568A or T568B wiring standard. Make sure the colors match the standard you choose. Hold the wires straight and flat. Slide them gently into the connector’s slots. Each wire must reach the end of the connector. Double-check that no wires are crossed or twisted.
Ensuring Full Insertion
Push the wires all the way to the front. The copper ends should touch the connector’s pins. Use your fingers or a small tool to press the wires firmly. Verify that the wires stay in place without moving back. A full insertion ensures a solid connection during crimping.
Common Mistakes To Avoid
Don’t trim wires too short before inserting. Wires that are too short won’t connect properly. Avoid leaving extra wire sticking out from the connector. Do not mix up the wire order. Incorrect order causes network errors. Never force wires into the connector. Forcing can damage the pins or wires.
Using The Crimping Tool
Using the crimping tool correctly is key to making a strong network cable. The tool connects the RJ45 connector to the cable. This section explains the simple steps for a good crimp.
Positioning The Connector In The Tool
First, insert the RJ45 connector into the crimping slot. Make sure the clip faces down. The wires must be fully inside the connector. Align the connector so it fits snugly. This position keeps the wires secure during crimping.
Applying The Right Pressure
Hold the handles firmly and squeeze evenly. Use steady pressure to push the pins into the wires. Avoid squeezing too hard to prevent damage. Too little pressure leaves a loose connection. Proper pressure locks the wires tightly inside.
Testing The Crimp
Check the connector after crimping. The pins should press down evenly on each wire. Tug gently on the cable to test the hold. Use a cable tester to verify the connection. A good crimp means better signal and fewer errors.

Credit: www.vcelink.com
Testing The Cable
Testing the cable is a vital step after crimping an RJ45 connector. It ensures the cable works properly and data flows without interruption. Faulty cables can cause slow internet or no connection. Testing helps catch problems early, saving time and effort.
Using A Cable Tester
A cable tester checks each wire inside the cable. It shows if wires connect correctly from end to end. Plug one end of the cable into the tester’s main unit. Connect the other end to the remote unit. Turn on the tester to see the results. Green lights usually mean a good connection. Red or no light signals a problem.
Identifying Faulty Connections
Faulty connections happen when wires are wrong or loose. The tester shows where the break or short is. Check if the wires follow the right color order. Look for any damaged or bent wires. Bad crimps can cause poor contact inside the connector. Replace the connector or recut the cable if needed.
Troubleshooting Tips
Start by testing the cable again after fixing issues. Make sure the cable length is not too long. Avoid sharp bends or twists in the cable. Use a good quality cable and connectors. Clean the cable ends before crimping. Keep the wires straight and tight inside the connector. Repeat testing to confirm the cable works well.
Frequently Asked Questions
What Is The Purpose Of A Crimping Tool For Rj45?
A crimping tool secures RJ45 connectors to Ethernet cables. It ensures a firm connection for data transmission. Proper use prevents signal loss and network issues.
How Do You Prepare A Cable For Rj45 Crimping?
Strip about 1 inch of the cable’s outer jacket. Untwist and align the wires according to the wiring standard. Trim the wires evenly before inserting into the connector.
Can I Reuse An Rj45 Connector After Crimping?
No, RJ45 connectors are typically single-use. Removing and reusing can damage the connector and cable. Always use a new connector for reliable connections.
What Common Mistakes Should I Avoid When Crimping Rj45 Cables?
Avoid incorrect wire order, insufficient stripping, and loose crimps. Ensure wires are fully inserted and aligned. Double-check your work to prevent connectivity problems.
Conclusion
Using a crimping tool for RJ45 cables is simple with practice. Follow the steps carefully for a strong connection. Check each wire’s order before crimping. Avoid rushing to prevent mistakes and damage. A good crimp ensures fast and reliable internet.
Keep your tool clean and store it safely. This skill helps with home and office networking tasks. Try it a few times to gain confidence. Soon, making your own Ethernet cables will feel easy and useful.