


Are you struggling to remove unwanted objects or fix imperfections in your photos? The Clone Stamp Tool in Photoshop is your secret weapon to make those edits look flawless.
Once you learn how to use it, you’ll be amazed at how easily you can transform your images. In this guide, you’ll discover simple, step-by-step tips to master the Clone Stamp Tool and take your photo editing skills to the next level.
Ready to see your photos like a pro? Keep reading!
Getting Started With Clone Stamp
The Clone Stamp tool in Photoshop helps you copy pixels from one area to another. It is useful for removing unwanted objects or fixing parts of an image.
This guide shows you how to find and use the Clone Stamp tool to edit your photos easily.
Locating The Tool
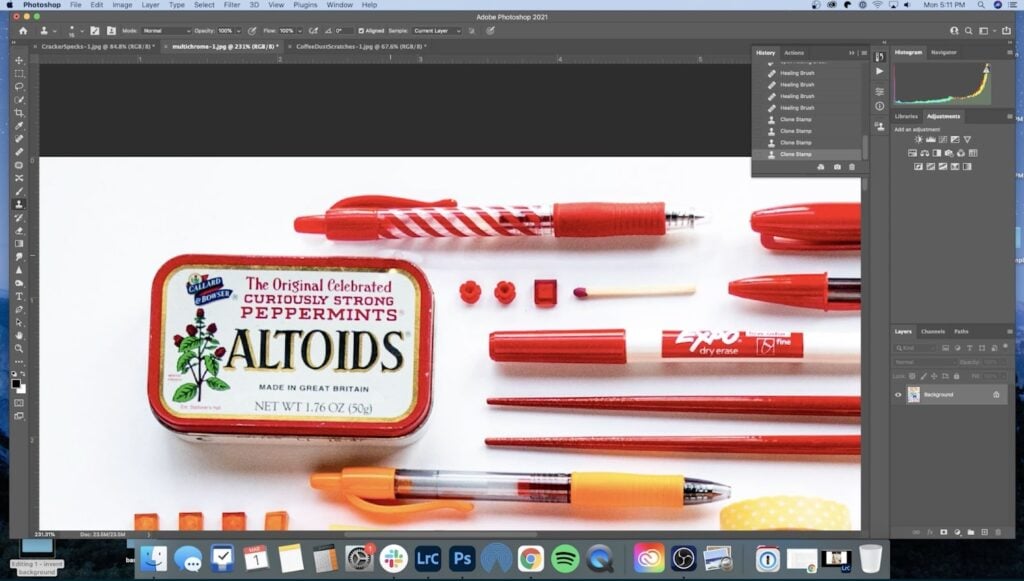
Open Photoshop and look at the left side toolbar. The Clone Stamp tool looks like a rubber stamp icon.
If you do not see it, click and hold the Spot Healing Brush tool. A small menu will appear, showing the Clone Stamp tool. Click it to select.
Adjusting Brush Settings
The brush size and hardness affect how the Clone Stamp tool works. You can change these settings at the top of the screen.
- Brush Size: Controls how big the cloned area is.
- Hardness: Controls the edge sharpness of the brush.
- Opacity: Controls the transparency of the cloned pixels.
Choose a soft brush for smooth blending or a hard brush for sharp edges.
Setting Sample Source
Before cloning, you must set a sample source point. This is where Photoshop copies pixels from.
Hold the Alt key (Option on Mac) and click the area you want to copy. Then move to the area to paint and click or drag the mouse.
Basic Cloning Techniques
The Clone Stamp Tool in Photoshop helps copy parts of an image. You can fix mistakes or remove objects by cloning.
Knowing basic cloning techniques improves your editing. You get smooth and natural results with practice.
Selecting The Right Area
Pick a clean and similar area to clone from. The source should match the target area in color and texture.
Use the Alt key (Option on Mac) to set the source point. Choose spots close to the problem area for best results.
- Look for areas with similar lighting
- Avoid cloning from noisy or detailed spots
- Change the source point often to avoid patterns
Applying Clones Smoothly
Paint gently with short strokes to blend the cloned area well. Large brush strokes can look fake.
Use different brush sizes to match the area you fix. Smaller brushes work better for edges and details.
- Use soft round brushes for smooth edges
- Work slowly and build the clone step by step
- Undo and retry if the clone looks wrong
Using Opacity And Flow
Lower opacity lets you clone with less strength. This helps blend the source and target smoothly.
Adjust flow to control how fast paint builds up. A lower flow gives better control over the cloning effect.
- Set opacity around 30-50% for natural results
- Use flow between 20-40% to build paint slowly
- Change settings as needed for different areas
Advanced Retouching Tips
The Clone Stamp Tool in Photoshop lets you copy pixels from one area to another. It helps fix small flaws and improve images. Using it with smart techniques gives better, natural results.
This guide covers working with layers, cloning textures and patterns, and fixing complex imperfections. These tips help you get clean and smooth edits.
Working With Layers
Always work on a new blank layer when using the Clone Stamp Tool. This keeps the original image safe. You can adjust or erase your cloning without damage.
Set the clone source to sample “Current & Below” so you copy pixels from all layers below your active one. Use layer masks to control where cloning appears.
- Create a new empty layer above the image.
- Choose the Clone Stamp Tool and set “Sample: Current & Below”.
- Alt-click (Option-click) the area to clone from.
- Paint on the new layer to cover flaws.
- Use layer masks to hide or reveal cloned parts smoothly.
Cloning Textures And Patterns
Matching textures and patterns is key to natural cloning. Zoom in closely to see details. Use the Clone Stamp Tool’s brush settings to adjust hardness and size.
| Brush Setting | Purpose |
|---|---|
| Soft Brush | Blend edges smoothly into surrounding texture |
| Hard Brush | Copy sharp patterns or edges clearly |
| Opacity 30-50% | Build cloning gradually for better control |
| Flow 10-20% | Apply paint softly in layers to avoid harsh lines |
Sample from different spots to avoid repeating patterns. Change clone source often to keep texture natural.
Fixing Complex Imperfections
Complex flaws like wrinkles, scars, or uneven skin need careful cloning. Use small brush sizes and clone from nearby matching skin tones.
- Select a small brush and zoom in on the area.
- Alt-click a clean skin spot close to the flaw.
- Paint slowly over the imperfection with low opacity.
- Change clone source often to avoid repeated textures.
- Use layer masks to refine and blend cloned areas.

Credit: www.youtube.com
Time-saving Shortcuts
The Clone Stamp tool in Photoshop helps fix images quickly. Using shortcuts saves your time and effort. This guide covers ways to work faster with this tool.
Learn to use keyboard shortcuts, handle multiple clone sources, and blend cloned areas smoothly. These tips make your editing process easier.
Keyboard Shortcuts For Efficiency
Using keyboard shortcuts speeds up your work with the Clone Stamp tool. Knowing these keys lets you switch actions fast.
- Hold
Alt(Windows) orOption(Mac) to select the clone source point. - Press
[or]to decrease or increase the brush size quickly. - Use
Shift + [orShift + ]to change the brush hardness. - Tap
Ctrl + Z(Windows) orCmd + Z(Mac) to undo the last stroke. - Hold
Shiftwhile cloning to draw straight lines.
Using Multiple Clone Sources
You can use more than one clone source to work on different parts of an image. This helps fix complex areas without resetting the source each time.
| Shortcut | Action |
Ctrl + Alt + Click(Windows)Cmd + Option + Click(Mac) | Set a new clone source point |
1, 2, 3, 4keys | Switch between up to four clone sources |
Alt + Drag(Windows)Option + Drag(Mac) | Move the clone source overlay |
Blending Cloned Areas
Blending helps the cloned area look natural. Use these tips to blend edges and adjust the opacity for smooth results.
Blending Tips:
- Lower the brush hardness to soften edges.
- Adjust opacity in the options bar to blend cloned pixels.
- Use layer masks to refine cloned areas without changing the original layer.
- Work on a new layer to keep edits flexible.
Common Mistakes To Avoid
Using the Clone Stamp Tool in Photoshop needs care and attention. Many users make simple mistakes that spoil their work.
Knowing what to avoid helps you get better results faster. Below are some common errors and tips to fix them.
Overlapping Clones
Copying areas too close or on top of each other creates odd patterns. This makes the edited area look fake or repeated.
- Change the sample source often to avoid repetition.
- Move the brush slightly between clones to blend better.
- Use smaller strokes instead of big ones for more control.
Ignoring Lighting And Shadows
Not matching the light and shadow in the cloned area causes strange effects. Your edits stand out and look unnatural.
| Lighting Issue | Effect | Fix |
| Bright area cloned onto shadow | Unnatural highlight | Choose source with similar lighting |
| Shadow cloned onto bright spot | Patch looks dark or dirty | Adjust brightness or pick another sample |
| Mixed light directions | Confusing image depth | Match light angle and source |
Using Too Large Brush Sizes
Using a big brush erases details and makes cloning obvious. It is hard to control and blend edges.
Tips to use brush size well:
- Use a smaller brush for detailed work.
- Increase brush size only for large, uniform areas.
- Adjust hardness to soften edges and blend better.
- Zoom in to work on small parts precisely.

Credit: www.youtube.com
Practical Projects To Practice
The Clone Stamp tool in Photoshop is useful for many tasks. It helps you fix and enhance photos easily. You can practice with different projects to improve your skills.
Let’s explore some practical projects. These will help you learn how to use the Clone Stamp tool effectively.
Removing Blemishes
Removing blemishes is a common use of the Clone Stamp tool. You can make skin look smooth and clean.
Select the tool, then choose a clean skin area. Clone it over the blemish. Adjust the size for better results.
- Select a soft brush for natural results
- Zoom in to see details clearly
- Use short strokes for more control
Duplicating Objects
You can duplicate objects in photos using the Clone Stamp tool. This adds more elements without copying and pasting.
Choose the object you want to duplicate. Use the Clone Stamp tool to paint it in another area. Ensure the lighting matches for a natural look.
- Align duplicated objects for symmetry
- Match shadows for realistic effects
- Use layers to manage changes easily
Repairing Damaged Photos
Old or damaged photos can be repaired with the Clone Stamp tool. Restore missing parts and remove scratches.
Select an undamaged area to clone. Use the tool to fill in gaps or missing parts. Pay attention to textures and patterns for a seamless fix.
- Work slowly to avoid mistakes
- Use different brush sizes for varied areas
- Check progress by zooming out
Credit: www.skillshare.com
Frequently Asked Questions
What Is The Clone Stamp Tool In Photoshop?
The Clone Stamp Tool copies pixels from one area to another. It helps remove unwanted objects and fix imperfections in images.
How Do You Select The Source Point In Clone Stamp?
Hold the Alt key (Option on Mac) and click the area you want to copy. This sets the source point for cloning.
Can Clone Stamp Tool Fix Complex Backgrounds?
Yes, the Clone Stamp Tool works well on complex backgrounds. It allows precise copying of texture and details for seamless edits.
How To Adjust Clone Stamp Brush Settings?
Use the Brush panel to change size, hardness, and opacity. Adjusting these controls helps blend the cloned area naturally.
Conclusion
The Clone Stamp Tool in Photoshop helps fix images easily. You can remove unwanted parts or copy details smoothly. Practice using the tool on simple images first. Adjust the brush size and opacity to suit your needs. Take your time to get clean results.
Keep experimenting to improve your photo editing skills. This tool makes editing more flexible and creative. Try it on your next project and see the difference. Simple steps can lead to great photo fixes.