


Are you tired of scrubbing grout lines by hand, only to see little improvement? Using a Dremel grout removal tool can save you time and effort, making your tile surfaces look brand new.
In this guide, you’ll discover simple steps to use the tool safely and effectively. Whether you’re a beginner or just looking for tips to get the best results, this article will help you transform your grout cleaning experience. Keep reading to learn how to make your grout removal faster, cleaner, and hassle-free.

Credit: www.youtube.com
Choosing The Right Dremel Tool
Using a Dremel grout removal tool makes cleaning grout easier. Picking the right tool is important for good results and safety.
This guide helps you choose the best Dremel tool and attachment for grout removal tasks.
Types Of Dremel Grout Removal Tools
Dremel offers different tools for grout removal. Each tool has features for certain jobs and surfaces.
- Rotary Tools:Small, handheld, and versatile for light grout removal.
- Oscillating Tools:Move side to side for faster grout removal on larger areas.
- Multi-Tool Kits:Include various attachments to handle grout and other tasks.
Choose a tool that fits your project size and your skill level for best results.
Selecting The Appropriate Attachment
The right attachment makes grout removal easier and safer. Dremel offers many options to fit different tools.
- Grout Removal Blades:Thin blades that fit between tiles for precise work.
- Sanding Bands:Used for smoothing grout after removal.
- Diamond Wheel:Durable and good for tough grout.
- Scraper Attachments:Help remove loose grout and debris.
Match the attachment to your Dremel tool and grout type. Use the right size and shape to avoid damaging tiles.
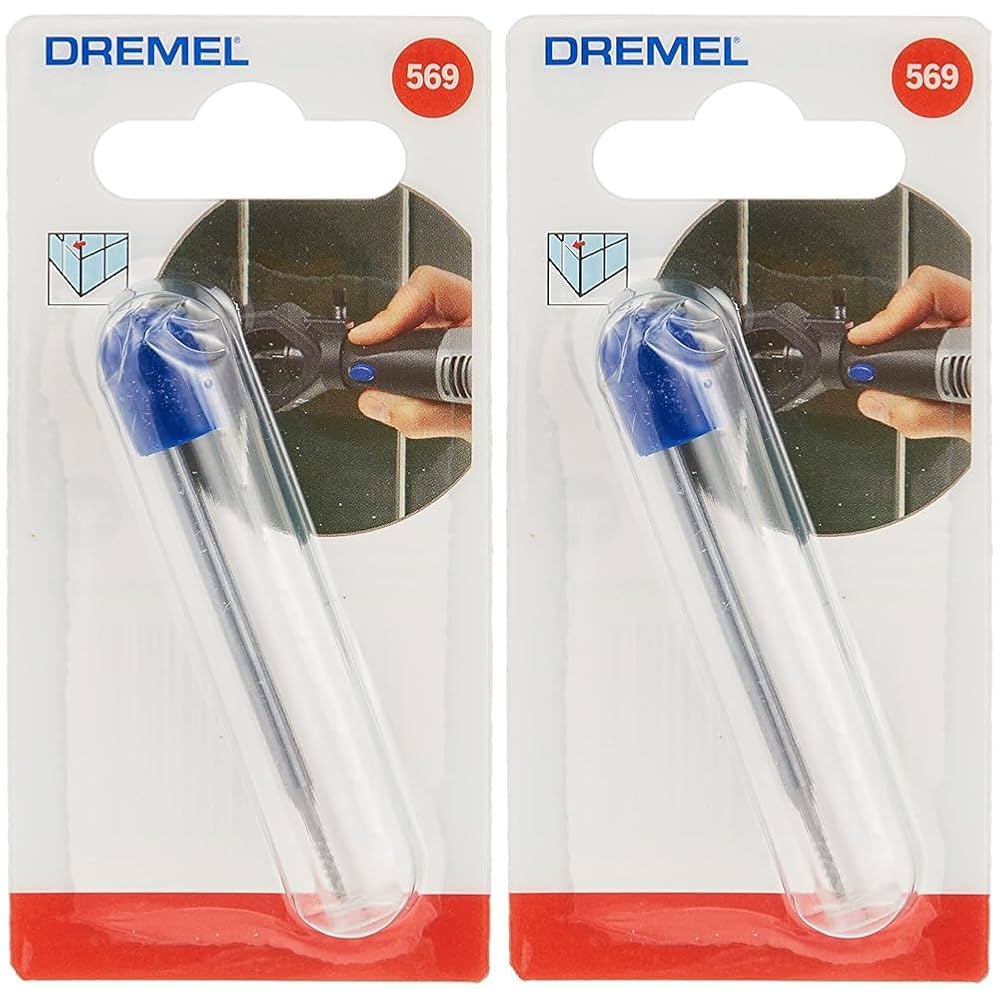
Credit: www.amazon.de
Preparing For Grout Removal
Removing grout with a Dremel tool needs careful preparation. This helps you work safely and efficiently.
Before starting, set up your space and follow safety rules. This guide covers what you need to know.
Safety Precautions
Protect yourself from dust and debris. Use the right gear and check your tool before use.
- Wear safety goggles to protect your eyes.
- Use a dust mask to avoid breathing fine particles.
- Wear gloves to protect your hands from sharp edges.
- Ensure the area is well ventilated.
- Check the Dremel tool and attachments for damage.
- Keep the power cord away from the working area.
Setting Up Your Workspace
Organize your workspace to make grout removal easier. Clear the area and arrange your tools within reach.
| Item | Purpose | Tip |
| Drop cloth | Protect floor and furniture | Cover a larger area than the work zone |
| Good lighting | See grout lines clearly | Use a bright lamp or natural light |
| Extension cord | Reach power outlet easily | Use a heavy-duty cord for safety |
| Tool holder | Keep Dremel tool steady | Place near your working spot |
| Cleaning brush | Remove grout dust | Use a stiff brush for best results |
Step-by-step Grout Removal Process
Removing grout with a Dremel grout removal tool is simple and quick. It helps to clean tiles and prepare for new grout.
Follow these steps carefully to remove grout safely and neatly from your tiles.
Marking The Area
Start by marking the grout lines you want to remove. This helps guide your work and avoid mistakes.
Use a pencil or painter’s tape to mark the edges of the grout lines clearly.
- Clean the tile surface before marking.
- Mark grout lines evenly for better control.
- Check your markings under good light.
Operating The Tool Effectively
Hold the Dremel tool firmly and start slowly along the marked grout lines. Keep the tool steady for clean removal.
Move the tool back and forth gently. Avoid pressing too hard to protect your tiles from damage.
- Use the correct grout removal attachment on the Dremel.
- Wear safety goggles and gloves before starting.
- Work in small sections for better control.
Managing Dust And Debris
Grout removal creates dust and debris. Use a vacuum or dust collector to keep the area clean.
Wear a mask to protect your lungs from dust. Clean the workspace often to avoid slipping hazards.
- Use a vacuum with a brush attachment near the work area.
- Take breaks to clear dust and check progress.
- Dispose of debris safely after finishing.
Tips For Smooth And Efficient Removal
Using a Dremel grout removal tool can be easy with the right tips. This guide will help you remove grout smoothly and efficiently.
Follow these suggestions to maintain control and avoid damaging tiles during the process.
Maintaining Proper Tool Speed
Controlling the speed of your Dremel tool is crucial. Start with a low speed setting.
Increase speed gradually to avoid breaking the tool or damaging grout lines.
- Low speed for soft grout
- Medium speed for hard grout
- High speed only if necessary
Avoiding Tile Damage
Tile damage can occur if you apply too much pressure. Hold the tool gently and let it do the work.
Keep the tool at a steady angle to prevent chipping the tile edges.
- Use a steady hand
- Avoid tilting the tool
- Check tile condition before starting
Using The Right Technique
Technique is key for effective grout removal. Use short, controlled strokes along the grout line.
Work in small sections to maintain focus and precision.
| Short Strokes | Increase control |
| Small Sections | Focus on precision |
Aftercare And Cleanup
Cleaning up after using a Dremel grout removal tool is important. Proper aftercare helps keep your tiles safe and ready for new grout. It also extends the life of your tools.
Pay attention to removing leftover grout and preparing the tiles well. These steps prevent damage and give you a smooth finish.
Removing Residual Grout
After using the Dremel tool, small bits of grout often remain. Remove these pieces carefully to avoid scratching the tile surface. Use a soft brush or vacuum to clear dust and debris.
- Use a soft-bristled brush to sweep off grout dust.
- Vacuum the grout lines to remove fine particles.
- Wipe tiles with a damp cloth to clear any remaining dust.
- Check grout lines closely to ensure no chunks remain.
- Wear a mask to avoid breathing in grout dust.
Preparing Tiles For New Grout
Clean tiles before applying new grout. This helps the grout stick better and look smooth. Avoid leaving any dirt or residue on the tile surface.
| Preparation Step | Purpose | Tool Needed |
|---|---|---|
| Clean tiles with mild detergent | Remove grease and dirt | Soft cloth or sponge |
| Dry tiles completely | Prevent grout from slipping | Clean dry towel |
| Inspect grout lines | Ensure all old grout is removed | Good lighting and magnifier (optional) |
| Apply masking tape (optional) | Protect tile edges during grouting | Painter’s tape |

Credit: m.youtube.com
Troubleshooting Common Issues
Using a Dremel grout removal tool can make tile work easier. Some problems might slow you down. Knowing how to fix these issues helps you work better.
This guide covers two common problems: stubborn grout and tool overheating. Follow these tips to keep your project on track.
Dealing With Stubborn Grout
Sometimes grout is very hard or thick. It may not come out easily with the tool. Try these methods to remove tough grout.
- Use a slower speed setting on the Dremel for better control.
- Apply steady pressure but do not force the tool.
- Change to a sharper or new grout removal bit.
- Work in small sections to avoid tiring the tool or yourself.
- Clean the grout lines with a brush to remove loose debris before starting.
Handling Tool Overheating
Overheating can stop the tool from working well. It can also damage the motor. Watch for these signs and follow the table to cool your tool.
| Symptom | Cause | Solution |
| Tool stops suddenly | Motor overheated | Turn off tool and let it cool for 10 minutes |
| Tool feels very hot | Long continuous use | Take breaks every 5-10 minutes |
| Burning smell | Too much pressure or clogged vents | Reduce pressure and clean air vents |
| Slow tool speed | Battery or power issue | Charge battery or check power source |
Frequently Asked Questions
What Is The Dremel Grout Removal Tool Used For?
The Dremel grout removal tool is designed to remove old grout quickly and precisely. It helps prepare tile surfaces for re-grouting or repairs.
How Do I Safely Use A Dremel Grout Removal Tool?
Wear safety goggles and a mask to protect from dust. Hold the tool firmly and work slowly along grout lines to avoid damaging tiles.
Can The Dremel Tool Remove Grout From All Tile Types?
Yes, the tool works on ceramic, porcelain, and natural stone tiles. Adjust speed and pressure depending on the tile’s hardness to prevent damage.
What Attachments Are Best For Grout Removal With Dremel?
Use a grout removal blade or carbide bit attachment. These are designed to efficiently grind away grout without scratching surrounding tiles.
Conclusion
Using a Dremel grout removal tool makes grout work easier and faster. Always wear safety glasses and work slowly for best results. Keep the tool steady to avoid damaging tiles. Clean the area well after removing grout for a neat finish.
With practice, you will get better and complete projects with confidence. This tool saves time and effort on grout removal jobs. Give it a try on your next tile project and see the difference. Simple steps lead to cleaner, smoother grout lines every time.