


Have you ever struggled to connect cables or wires securely? If so, you might need a crimp tool.
This simple yet powerful device can make your work faster and more reliable. Understanding what a crimp tool is and how it works can save you time and frustration. Keep reading to discover how this handy tool can become your best ally in any wiring project.
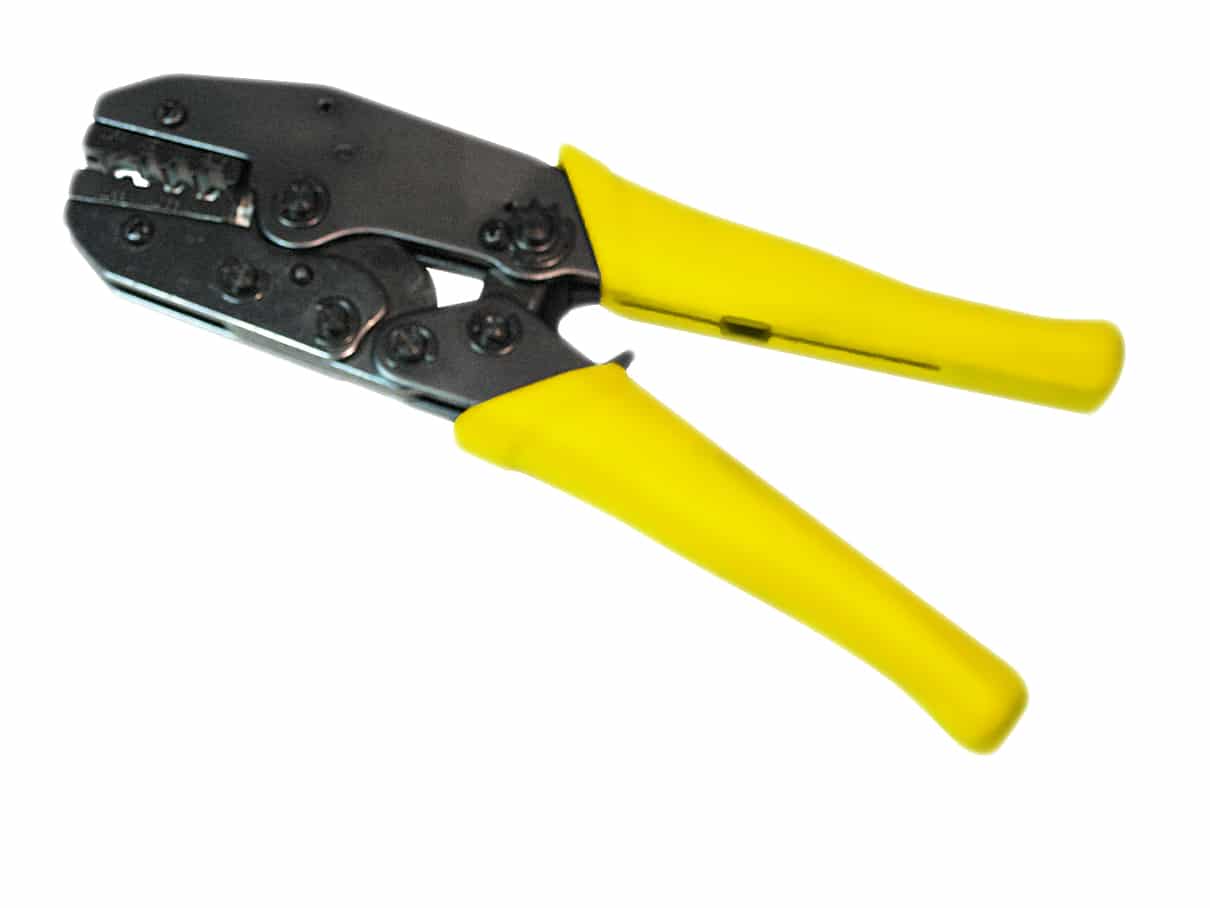
Credit: ripley-tools.com
Crimp Tool Basics
A crimp tool is a simple device used in many electrical and mechanical tasks. It helps join two pieces of metal or wire by pressing them tightly together. This creates a strong connection without soldering or welding.
Understanding crimp tool basics is important for anyone working with cables or connectors. It ensures safe, reliable connections that last long and work well.
Purpose Of A Crimp Tool
The main job of a crimp tool is to join wires and connectors firmly. It compresses metal connectors onto wires, creating an electrical or mechanical bond.
This bond stops wires from slipping out or breaking. It also helps electricity or signals flow without interruption.
Using a crimp tool improves safety and performance in electrical systems.
Common Types Of Crimp Tools
There are several crimp tools made for different jobs. Some are small for light work, while others are larger for heavy cables.
Handheld crimpers are popular for home and small jobs. They use manual force to press connectors.
Ratchet crimpers apply even pressure and release only after a full crimp. They help make consistent, strong connections.
Specialized crimpers exist for specific connectors, like coaxial or network cables.
How Crimp Tools Work
Understanding how crimp tools work helps you see their value in many tasks. These tools join wires or cables by pressing them tightly together. The process creates a strong, reliable connection without soldering or twisting.
Crimp tools use pressure to shape metal connectors around wire ends. This ensures good electrical contact and mechanical strength. The right tool and technique make the connection safe and long-lasting.
Crimping Process Explained
The crimping process starts by inserting the wire into a metal connector. The connector is placed in the tool’s jaws. Squeezing the handles closes the jaws, pressing the connector tightly around the wire.
This pressure deforms the connector and wire, locking them together. It creates a firm bond that resists pulling apart. The crimp must be even and secure to work well.
Different connectors and wires need specific tool settings. Some tools have adjustable dies or ratchet mechanisms. These features help apply the right amount of pressure for each job.
Materials Used In Crimping
Common materials in crimping include copper, aluminum, and steel. Copper is popular for electrical wires due to its conductivity. Connectors often have tin or nickel plating to prevent corrosion.
Insulated connectors use plastic or rubber sleeves for safety. These materials protect against short circuits and damage. The choice of materials affects the strength and durability of the connection.
Crimp tools themselves are usually made from hardened steel. This makes them strong and durable for repeated use. Some tools also have cushioned handles for comfort during work.
Choosing The Right Crimp Tool
Choosing the right crimp tool is essential for a strong and reliable connection. The right tool makes your work easier and ensures safety. It also saves time and reduces errors. Picking the wrong tool can damage connectors or wires. Understanding your needs helps you pick the best tool for your project.
Factors To Consider
Consider the type of wires you will use. Wire size and material affect tool choice. Check the tool’s grip and comfort. A good handle reduces hand fatigue. Think about the tool’s durability. Strong materials last longer and handle tough jobs. Also, check if the tool fits your budget. Quality tools may cost more but offer better results.
Matching Tools With Connectors
Connectors come in many shapes and sizes. Each connector type needs a specific crimp tool. Using the wrong tool can cause loose or weak crimps. Read connector instructions for tool recommendations. Some tools work with multiple connector types. Make sure your tool matches the connectors you use most. This ensures a tight and safe connection every time.
Step-by-step Crimping Guide
The step-by-step crimping guide helps you use a crimp tool correctly. It makes sure your wires and connectors join tightly. Follow these simple steps to get a strong, safe connection every time.
Preparing The Wire
Cut the wire to the needed length. Strip off the insulation carefully without damaging the wire. Use a wire stripper for a clean job. Check that the wire strands are neat and untangled before moving on.
Positioning The Connector
Choose the right connector for your wire size. Slide the connector onto the stripped wire end. Make sure the wire fits fully inside the connector. Hold the connector steady to prevent slipping during crimping.
Executing The Crimp
Open the crimp tool jaws wide enough to fit the connector. Place the connector in the correct slot of the tool. Squeeze the handles firmly and evenly to compress the connector. Release and check the crimp for a tight hold. Repeat if needed to ensure a solid connection.
Common Crimping Mistakes
Crimping tools help join wires and connectors tightly. Using them incorrectly causes weak connections. These common mistakes reduce the tool’s effectiveness and may cause electrical problems. Knowing these errors helps make strong, safe connections every time.
Poor Connection Signs
Loose wires that pull out easily show a poor crimp. A shiny or cracked crimp means it is weak. Wires that spark or overheat indicate bad contact. Uneven or crushed connectors also signal a bad crimp. These signs warn of a connection that may fail soon.
How To Avoid Errors
Choose the right size crimp tool for the wire and connector. Strip wire insulation carefully without cutting the metal. Insert the wire fully into the connector before crimping. Apply steady pressure to avoid crushing or deforming the connector. Test the connection by gently pulling the wire after crimping.
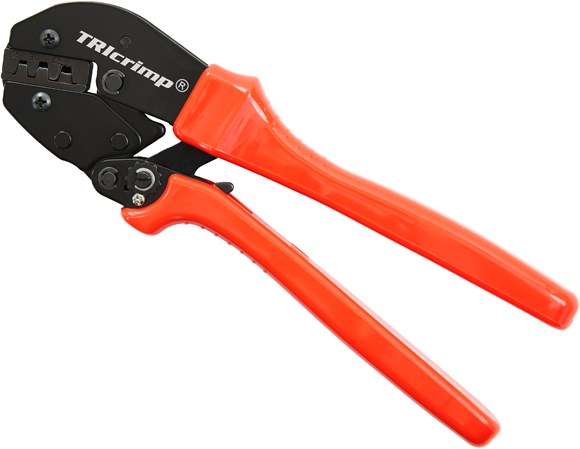
Credit: powerwerx.com
Maintenance And Care
Proper maintenance and care keep your crimp tool working well for a long time. Dirt, rust, and wear can reduce its performance. Regular cleaning and safe storage help maintain its precision and durability. Follow these simple tips to protect your tool.
Cleaning Tips
Remove dirt and grease after each use. Use a soft cloth or brush to clean tight spots. Avoid harsh chemicals that damage metal parts. Light oil on moving parts stops rust and keeps the tool smooth. Wipe off extra oil to prevent dust buildup.
Storage Recommendations
Store your crimp tool in a dry place to avoid rust. Keep it in a toolbox or case to protect it from dust and damage. Avoid places with high humidity or direct sunlight. Check the tool regularly for signs of wear or damage. Proper storage ensures your tool lasts longer.
Applications Of Crimp Tools
Crimp tools have many uses in different fields. They help join wires and connectors tightly. This makes connections strong and safe. Below are some common areas where crimp tools are very useful.
Electrical Wiring
Electricians use crimp tools to connect wires quickly. These tools join wires without soldering. This saves time and makes work neat. Crimped connections reduce the risk of loose wires. They ensure good electrical contact and safety.
Automotive Repairs
In car repairs, crimp tools attach wires to terminals. This helps fix electrical parts like lights and sensors. Crimping makes sure wires stay connected even with vibrations. Mechanics rely on crimp tools for strong, reliable wiring.
Networking Cables
Crimp tools are essential for making network cables. They attach connectors to Ethernet cables perfectly. This ensures fast and stable internet connections. Network technicians use these tools for neat cable assemblies. It helps avoid data loss and signal issues.
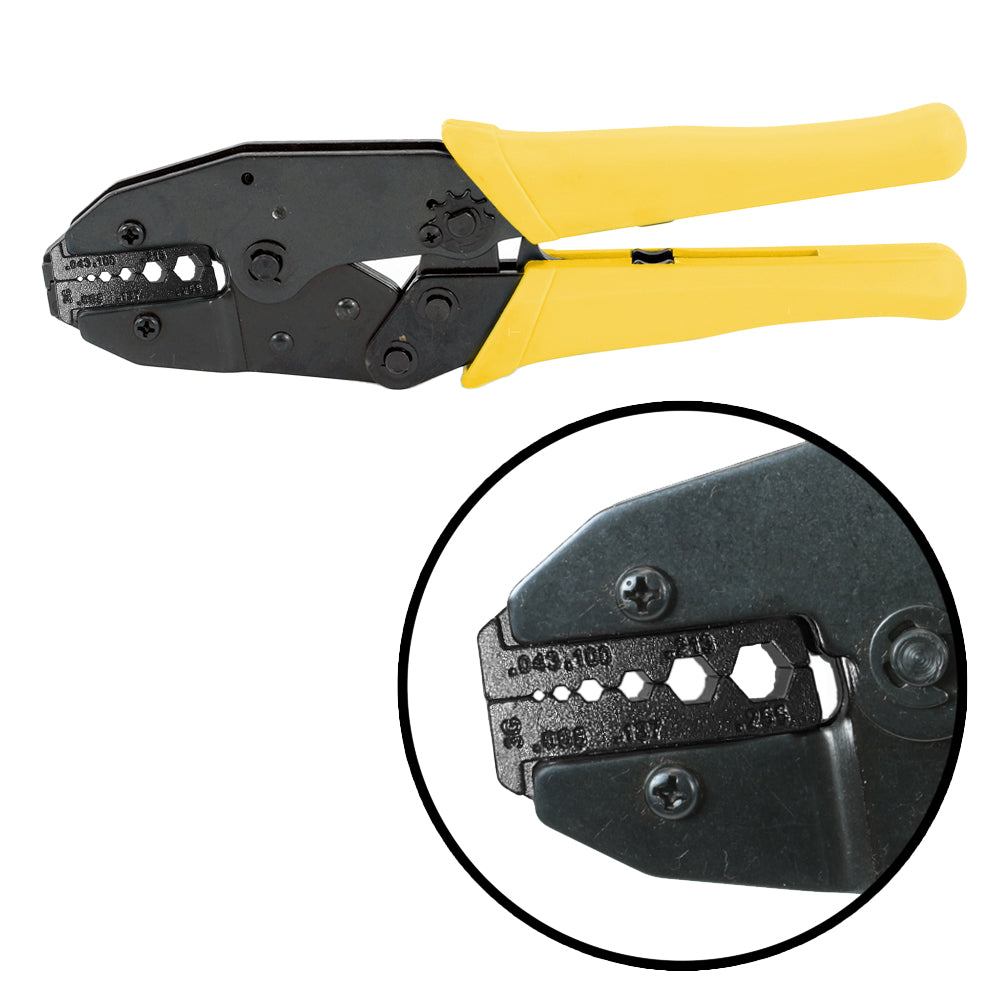
Credit: www.ruggedradios.com
Frequently Asked Questions
What Is The Main Purpose Of A Crimp Tool?
A crimp tool is designed to join two pieces of metal or wire by deforming one or both. It ensures secure electrical connections without soldering, making it essential for wiring and networking tasks.
How Do Crimp Tools Work On Electrical Connectors?
Crimp tools compress a connector onto a wire, creating a strong mechanical and electrical bond. This process prevents wires from slipping and ensures reliable conductivity in circuits.
What Types Of Connectors Can Crimp Tools Handle?
Crimp tools can work with various connectors like RJ45, coaxial, and insulated terminals. Different tools or dies may be required depending on the connector type and wire gauge.
Why Is Using A Crimp Tool Better Than Soldering?
Crimping is faster, cleaner, and requires less skill compared to soldering. It produces consistent, durable connections ideal for fieldwork and reduces the risk of heat damage to components.
Conclusion
A crimp tool helps join wires and connectors tightly. It makes electrical and network work safer and stronger. Using the right crimp tool saves time and avoids loose connections. Anyone working with cables benefits from understanding this tool. It is simple but very useful for many tasks.
Try using a crimp tool to see how it improves your projects. Small tool, big help.