


If you own an air tool, you already know how important it is to keep it in top shape. But do you know the secret to making your tool last longer and work better every time?
The answer is simple: oiling your air tool regularly. In this post, you’ll discover exactly how to oil your air tool the right way. By the end, you’ll have the confidence to maintain your tool like a pro, saving you time, money, and frustration.
Ready to unlock the full potential of your air tool? Let’s dive in.
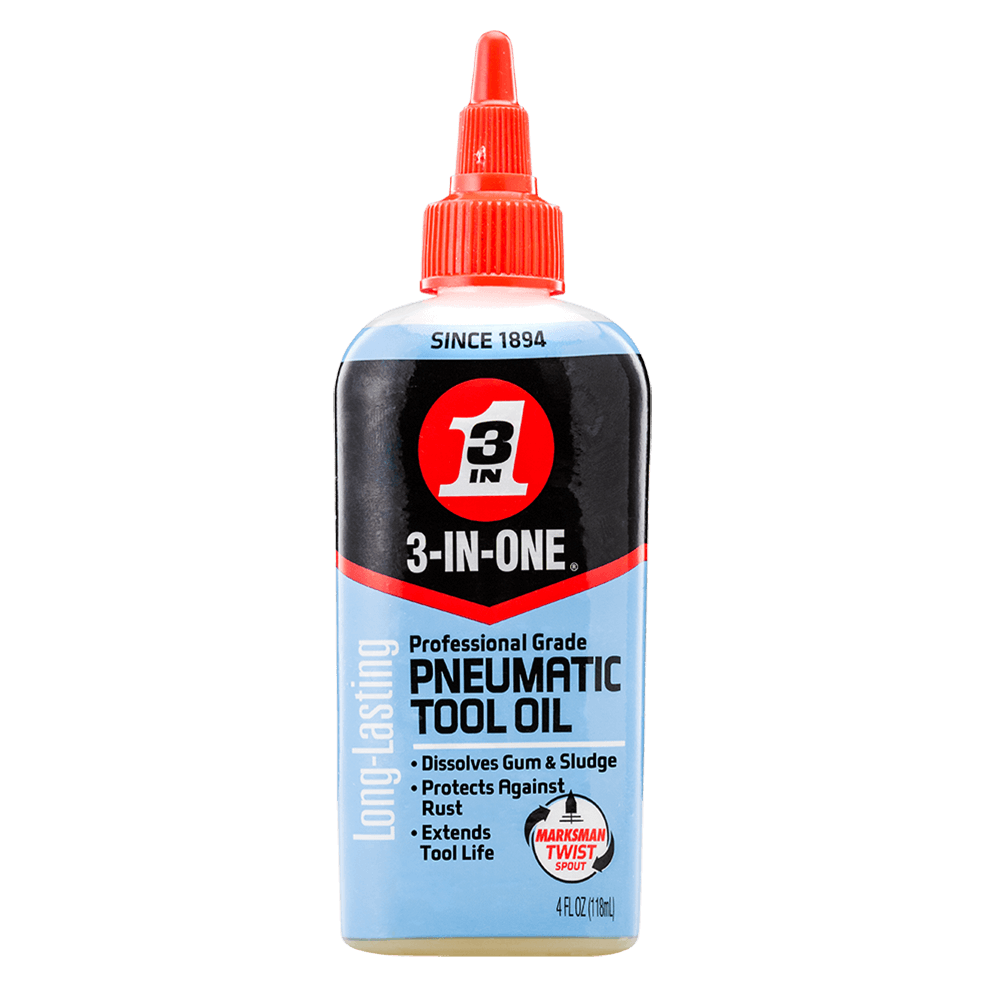
Choosing The Right Oil
Choosing the right oil for your air tool is very important. The oil keeps the tool running smoothly. It stops parts from wearing out quickly. Using the wrong oil can cause damage. It may lead to poor tool performance. Knowing what type of oil to use saves money and time.
Types Of Air Tool Oils
There are several types of oils made for air tools. Most common are mineral oils and synthetic oils. Mineral oils come from natural sources. They are easy to find and usually cost less. Synthetic oils are made in labs. They offer better protection and last longer. Some oils also have special additives. These additives fight rust and reduce wear. Choosing the right type depends on your tool and work.
Synthetic Vs. Mineral Oils
Synthetic oils handle heat better than mineral oils. They keep their shape even under pressure. Mineral oils may break down faster in hot tools. Synthetic oil helps tools run quieter. It also reduces the chance of parts sticking. Mineral oil is good for light use and older tools. Synthetic oil suits heavy use and newer tools. Check your tool manual for oil type advice.
Oil Viscosity And Its Importance
Viscosity means how thick the oil is. Thin oil flows easily but may not protect well. Thick oil protects parts but can slow the tool. Air tools need oil with the right thickness. This keeps air moving and parts lubricated. Using oil that is too thick can cause damage. Too thin oil may not protect enough. Always use the viscosity recommended by the tool maker.
Credit: 3inone.com
Preparing Your Air Tool
Preparing your air tool before oiling is important. Proper preparation helps the tool work better and last longer. It also keeps the tool safe to use. Take time to clean and check your tool carefully. This makes oiling easier and more effective.
Cleaning Before Oiling
Start by removing dirt and dust from the air tool. Use a dry cloth to wipe the outside. Blow compressed air into the tool to clear inside parts. Dirt can block oil from reaching important areas. Clean tools allow oil to work well and protect moving parts.
Safety Precautions
Always disconnect the air tool from the air supply before oiling. This stops accidental starts that could cause injury. Wear safety glasses to protect your eyes from oil splashes. Work in a clean, well-lit area to avoid mistakes. Follow the tool’s manual for specific safety tips. Safety helps you finish the job without problems.
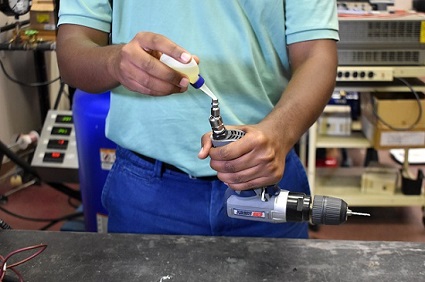
Oiling Techniques
Oiling an air tool is essential for its long life and smooth work. Knowing the right oiling techniques helps keep your tool in good shape. This section explains where to put the oil, how much to use, and how often to oil your tool.
Where To Apply Oil
Put oil directly into the air inlet of the tool. This spot lets the oil flow inside and reach moving parts. Avoid oiling parts that do not move or are made of plastic. A few drops in the right place work best.
Proper Amount Of Oil
Use only a few drops of oil for each oiling session. Too much oil can cause dirt build-up and damage the tool. Too little oil will not protect the parts properly. Three to five drops is usually enough.
Frequency Of Oiling
Oil your air tool before each use for best results. If you use it a lot, oil it more often. For tools used less than once a week, oiling once a month is fine. Regular oiling stops rust and keeps parts moving freely.

Credit: tameson.com
Maintaining Air Tool Performance
Maintaining air tool performance is key to keeping your tools working well for a long time. Oiling your air tool helps reduce wear and tear. It keeps parts moving smoothly and stops rust from forming. Regular care also prevents breakdowns and saves money on repairs.
Without oil, the tool can get noisy and slow. It may also lose power and stop working. Proper oiling makes sure your air tool runs efficiently and lasts longer.
Signs Your Tool Needs Oiling
Listen for unusual noises like squeaking or grinding sounds. These often mean the tool parts are dry. Notice if the tool runs slower or feels weaker than before. Check for visible rust or dirt inside the tool’s air inlet. Excessive heat during use can also signal the need for oil. Regular oiling can stop these issues before they start.
Troubleshooting Common Issues
Start by cleaning the air tool’s exterior and air inlet. Use only the right type of oil made for air tools. Add a few drops into the air inlet before use. Avoid over-oiling to prevent dirt buildup inside the tool. If the tool sputters or stalls, check for clogged filters or hoses. Tighten loose fittings to stop air leaks. Oiling helps fix many common problems and keeps your tool running smoothly.
Storing Your Oiled Air Tools
Storing your oiled air tools correctly helps keep them in good shape for a long time. Proper storage stops dirt, dust, and moisture from damaging the tools. This also protects the oil inside from drying out. Clean, dry storage is key for air tools after oiling.
Preventing Rust And Corrosion
Rust and corrosion can ruin air tools fast. Oil acts as a shield against moisture. Make sure the tool is fully oiled before storage. Use a clean cloth to wipe off excess oil. Store tools in a dry place with low humidity. Use silica gel packs to absorb extra moisture. Check your tools often and reapply oil if needed.
Best Storage Practices
Keep air tools in a toolbox or case to avoid dust. Avoid places with direct sunlight or heat. Store tools in an upright position to keep oil inside. Label the storage container to find tools easily. Use foam padding to prevent scratches or damage. Regularly inspect tools for signs of wear or rust. Proper storage extends the life of your air tools.
Credit: www.campbellhausfeld.com
Frequently Asked Questions
How Often Should I Oil My Air Tool?
Oil your air tool before each use or after every 8 hours of operation. Regular oiling prevents wear and extends tool life.
What Type Of Oil Is Best For Air Tools?
Use lightweight, non-detergent air tool oil. Avoid motor oils or heavy lubricants as they can damage the tool.
Can I Use Wd-40 To Oil My Air Tool?
No, WD-40 is not suitable. It’s a cleaner, not a lubricant. Use proper air tool oil instead.
How Do I Properly Apply Oil To An Air Tool?
Add 2-3 drops of oil into the air inlet before connecting the tool. Run the tool briefly to distribute oil evenly.
Conclusion
Oiling an air tool keeps it running smoothly and lasts longer. Regular oiling stops rust and reduces wear. Always use the right oil and follow the tool’s guide. Small care steps save you money and time later. Don’t skip this simple task.
Your tools will thank you with better work and fewer problems. Keep them oiled and ready for any job. Easy maintenance makes a big difference. Take a few minutes to protect your investment today.